
Hand-Cut Mortise & Tenon Joinery
Bill Anderson
Class Preview
2:50:51
- In-depth Instruction; over 171 mins
- On-demand video access anytime
- Bonus downloadable PDF resources
- Access to class Q&A
- Available for purchase: $39.99
About the Mortise & Tenon
21:08
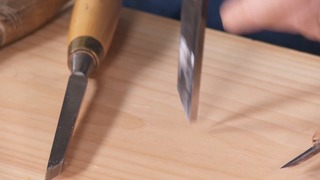
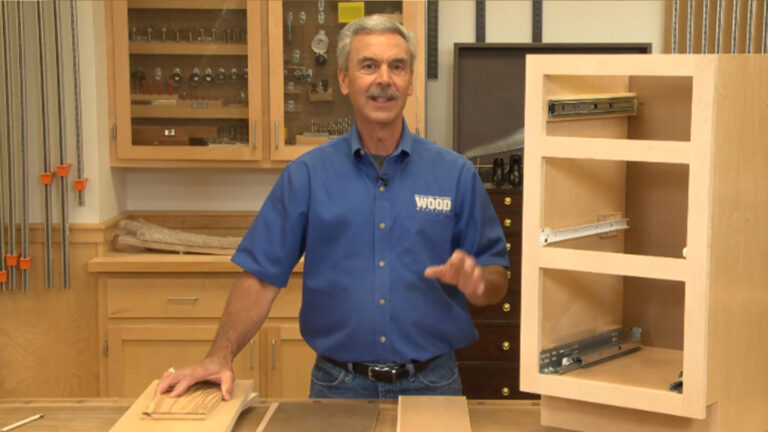
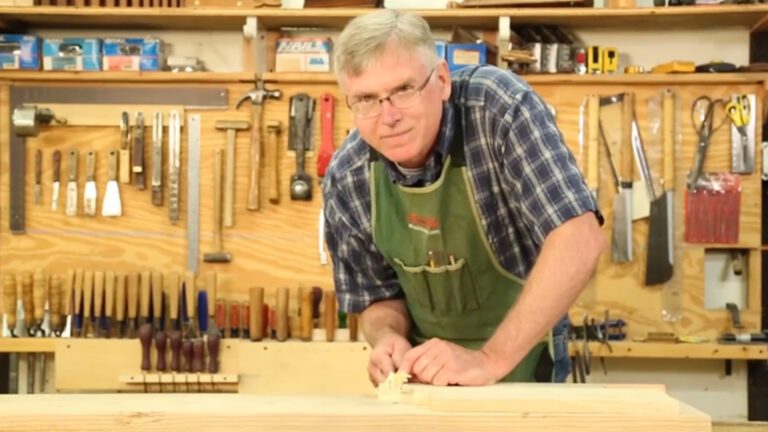
Meet woodworker Bill Anderson and preview the techniques you'll learn to create precise mortise and tenon joints using hand tools. Gain familiarity with this versatile and reliable joint as Bill outlines its history and applications. You'll also get detailed information on the tools you'll need for class.
Joint Orientation & Hand Skills
25:30
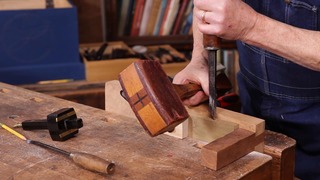
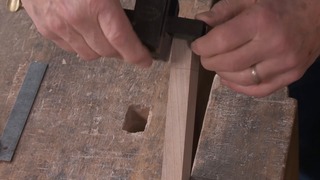
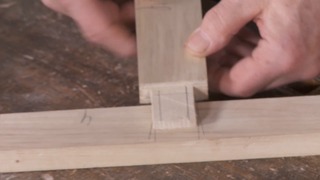
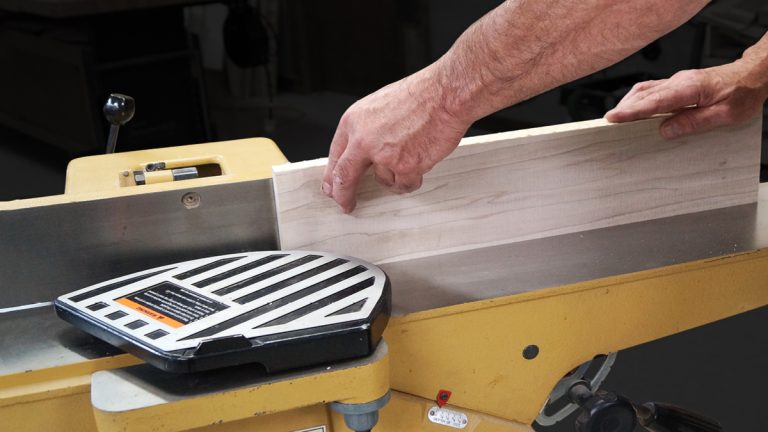
Get started with the basics! Learn how to lay out the joinery and make orientation and reference marks -- essential for keeping your work square and aligned correctly. Bill also guides you through the process of sawing a tenon and chopping a mortise. Plus, get tips for repairing problem joints.
Frame & Panel Joint
25:39
Learn how to create the traditional frame and panel joinery used in doors, lids and window sashes. Bill shares time-saving tips for laying out the mortise and tenon joints. Then, get in-depth instruction on plowing grooves into rails and stiles. In addition, you'll see how to hand cut a haunched tenon.
Frame & Panel Variations
32:05
Expand your skill set by learning how to create several variations of the traditional frame and panel joinery. You'll discover how to strengthen your joints using the drawboring technique. Plus, see how to add a unique design element to the outside of your frame with decorative wedging.

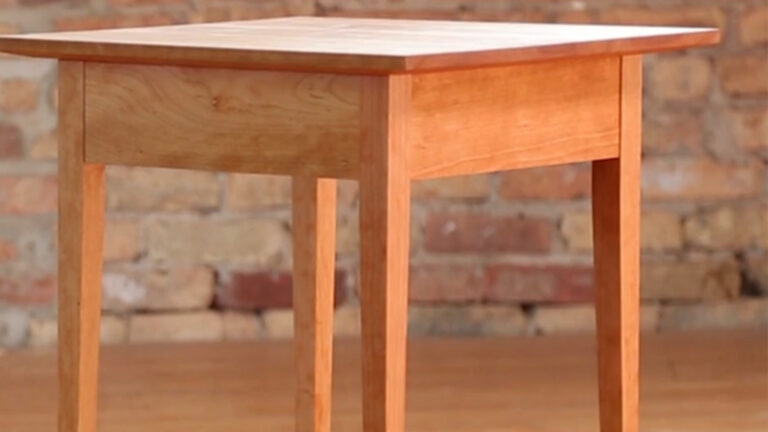
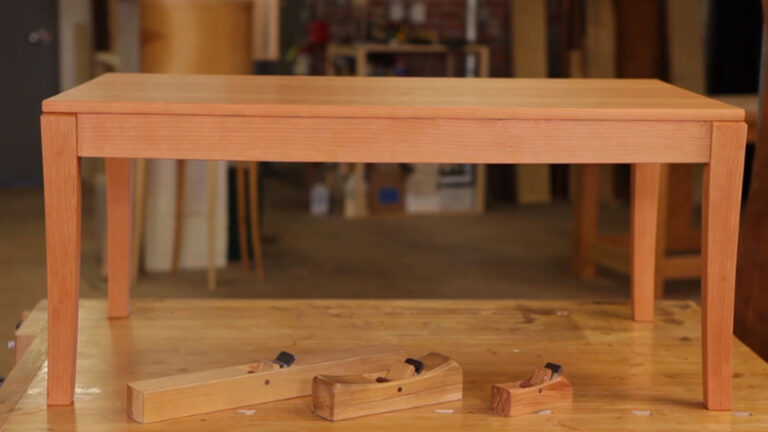
Joints for Aprons & Legs
26:27
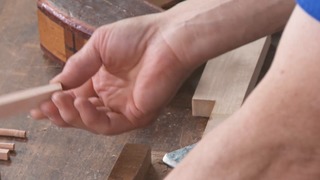
Discover how to design and make strong hand-cut joinery for legs and aprons. Get step-by-step instruction on laying out and sawing longer tenons. Then, find out Bill's effective technique for chopping out intersecting mortises. You'll also get expert advice on achieving a perfectly tight fit.
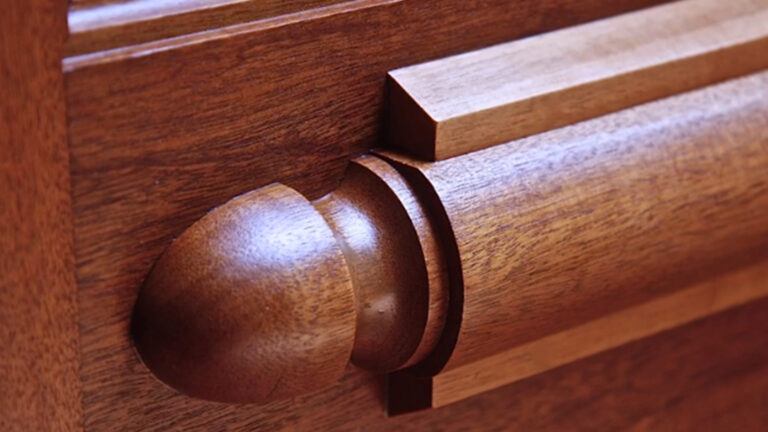
Bridle Mortise & Tenon Joint
21:59
Give your cabinetry projects a refined look with bridle joints. Bill breaks down the process of laying out and sawing both the mortise and tenon pieces to create a clean mitered corner. You'll be impressed by the elegant results!
Fox Mortise & Tenon Joint
18:03
Round out your repertoire with the complex fox joint -- perfect for use in fine furniture. Discover Bill's tips and tricks for making the bottom of the mortise wider than the opening, then learn how to create and insert wedges into the tenon. Finish by seeing how to properly assemble this strong, stable joint.
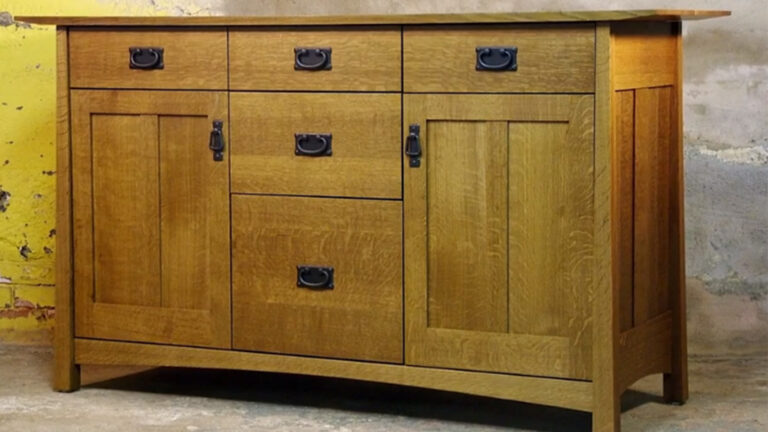
Learn to create and use many variations of remarkably strong mortise and tenon joints alongside hand-tool woodworking expert Bill Anderson. Start with foundational skills for laying out your joinery and adding orientation and reference marks to keep your work square and properly aligned. You’ll also see how to saw a tenon, chop a mortise and fix troublesome joints. Next, you’ll learn several variations of traditional frame and panel joinery, which is frequently used in doors, window sashes and more. Move on to creating sturdy mortise and tenon joints for table aprons and legs. Then, progress to making bridle mortise and tenon joints that are perfect for sturdy, sophisticated-looking cabinets. Plus, take your fine furniture skills further with step-by-step guidance for creating highly stable fox joints.
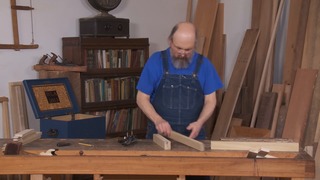
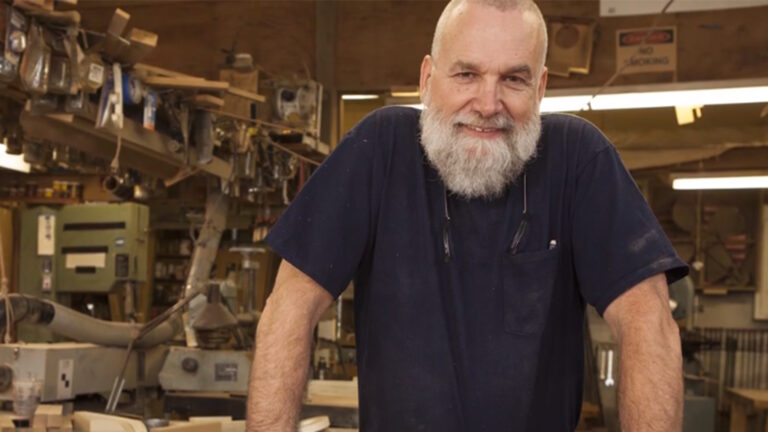
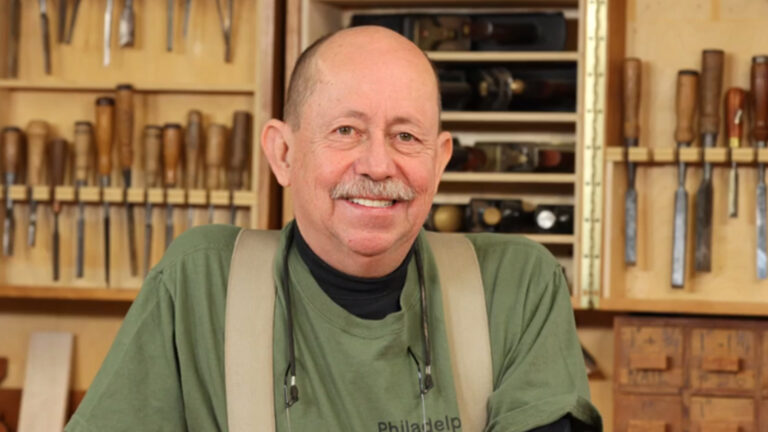
Bill Anderson
Bill Anderson has taught hand-tool woodworking at The Woodwrights School in Pittsboro, North Carolina, at the John C. Campbell Folk School in Brasstown, N.C., and out of his own shop. He has appeared several times on Roy Underhill's PBS program, The Woodwright's Shop. He also enjoys writing articles on various woodworking subjects for publications such as Popular Woodworking magazine. Bill is an expert on woodworking techniques from the 18th and 19th century, and he's passionate about sharing these timeless skills with other craftsmen.
Bonus materials available after purchase
What is the “Purchase” option all about?
If I’m a paid Premium or Gold Member of Craftsy, do I need to purchase the Class to have access?
How do I know what the Class covers?
Do I have to be a Member of Craftsy to purchase a Class?
How do I “Purchase-to-Own” a Class?
How do I access/view my Class?
Is there a limit on the times I can view my Class?
Can I view a Class on my tablet device or mobile phone?
How do I get access to the Bonus Materials for the Class?
How does the Class Discussion benefit work?
Can I print out Class Bonus Materials?
Are there any system requirements to view the Class video content?
Can I get a refund if I don’t like the Class?
You may be interested in


Premium Membership
Unlock exclusive member content from our industry experts.
- 24/7 Access to Over 2,000 Premium Classes and Hundreds of Instructional Videos Across 20+ Categories
- Extensive Library of Downloadable Patterns and Recipes
- Stream and Download Classes Anywhere with the Craftsy App
- Share Your Membership with up to 3 Friends or Family Members
- Access to Ask the Expert Program
- Admission to Exclusive LIVE Streaming Virtual Events
Unlock exclusive member content from our industry experts.
- 24/7 Access to Over 2,000 Premium Classes and Hundreds of Instructional Videos Across 20+ Categories
- Extensive Library of Downloadable Patterns and Recipes
- Stream and Download Classes Anywhere with the Craftsy App
- Share Your Membership with up to 3 Friends or Family Members
- 2 Full-Length Classes to Keep in Your Account for Life
- Access to Ask the Expert Program
- Admission to Exclusive LIVE Streaming Virtual Events
Gold Membership
$449 Value
Get everything included in Premium plus exclusive Gold Membership benefits.
- 24/7 Access to Over 2,000 Premium Classes and Hundreds of Instructional Videos Across 20+ Categories
- Extensive Library of Downloadable Patterns and Recipes
- Stream and Download Classes Anywhere with the Craftsy App
- Share your Membership with up to 3 friends or family members
- 8 Full-Length Classes of Your Choice to Keep in Your Account for Life
- 10 Patterns, Guides, or Recipes of Your choice to Download to Your Devices
- 20% off Purchase-to-Own Classes in the Craftsy Shop (Select Classes Only)
- Access to Ask the Expert Program
- Exclusive GOLD LIVE Virtual Events
Purchase Class
Purchase class and add to your personal library with on-demand video access.
- Enjoy on-demand video access to this content anytime, anywhere for the one-time cost below.
- You won’t lose access, with or without an active current Membership
Hand-Cut Mortise & Tenon Joinery
with Bill Anderson