
When the weather turns colder, you might have to bring your green babies in from your garden and transplant them into pots. Or maybe you just love weaving plants into your home decor year-round. Either way, these six Instagrammers are here for you with awesome DIY ideas you’ll want to try asap.
1. Green Giggles
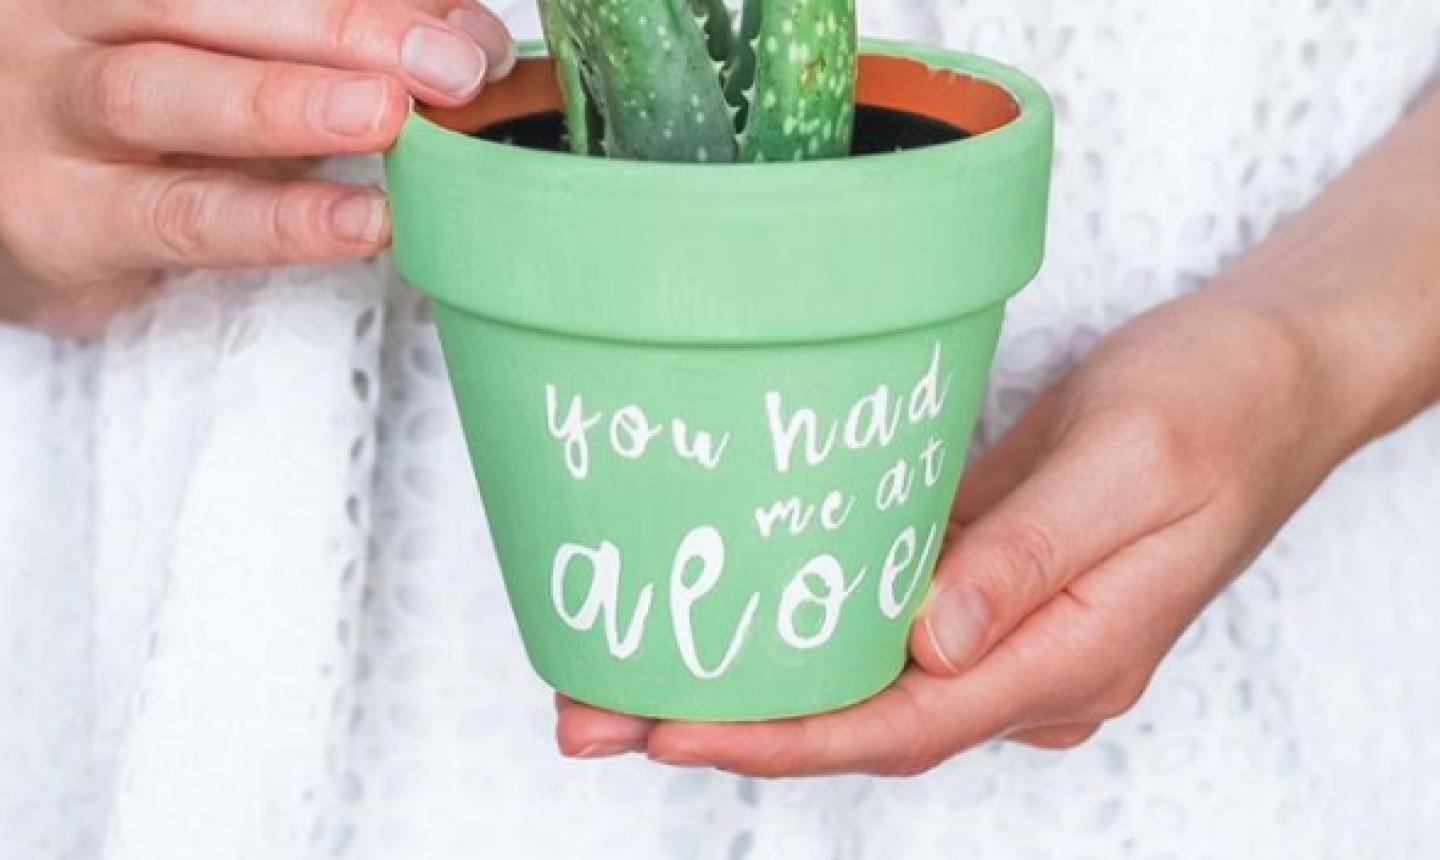
Photo courtesy @stephanieziajka
When Stephanie Ziajka, creator of the Southern lifestyle blog Diary of a Debutante, sees something pricey that she loves, she goes home and figures out how to DIY the same thing for a lot less — and her indoor planters are no exception.How to Make It
Stephanie created this way-too-cute “You Had Me at Aloe” planter by making a stencil on her Cricut Explore cutting machine. She shares a full tutorial on her blog, but here’s a quick rundown: you’ll start with a small terracotta pot, acrylic paints and foam brushes. Then you’ll prime, paint and stencil your design onto the pot. The finishing touch is a sweet little aloe plant!
Although aloe makes the most sense for this pot, Stephanie says you’ve got options. “You can create a fun planter with any plant-related pun, like ‘Ain’t Nobody Got Thyme for That,’ or ‘Looking Sharp’ for cacti.”
2. Mini Magic
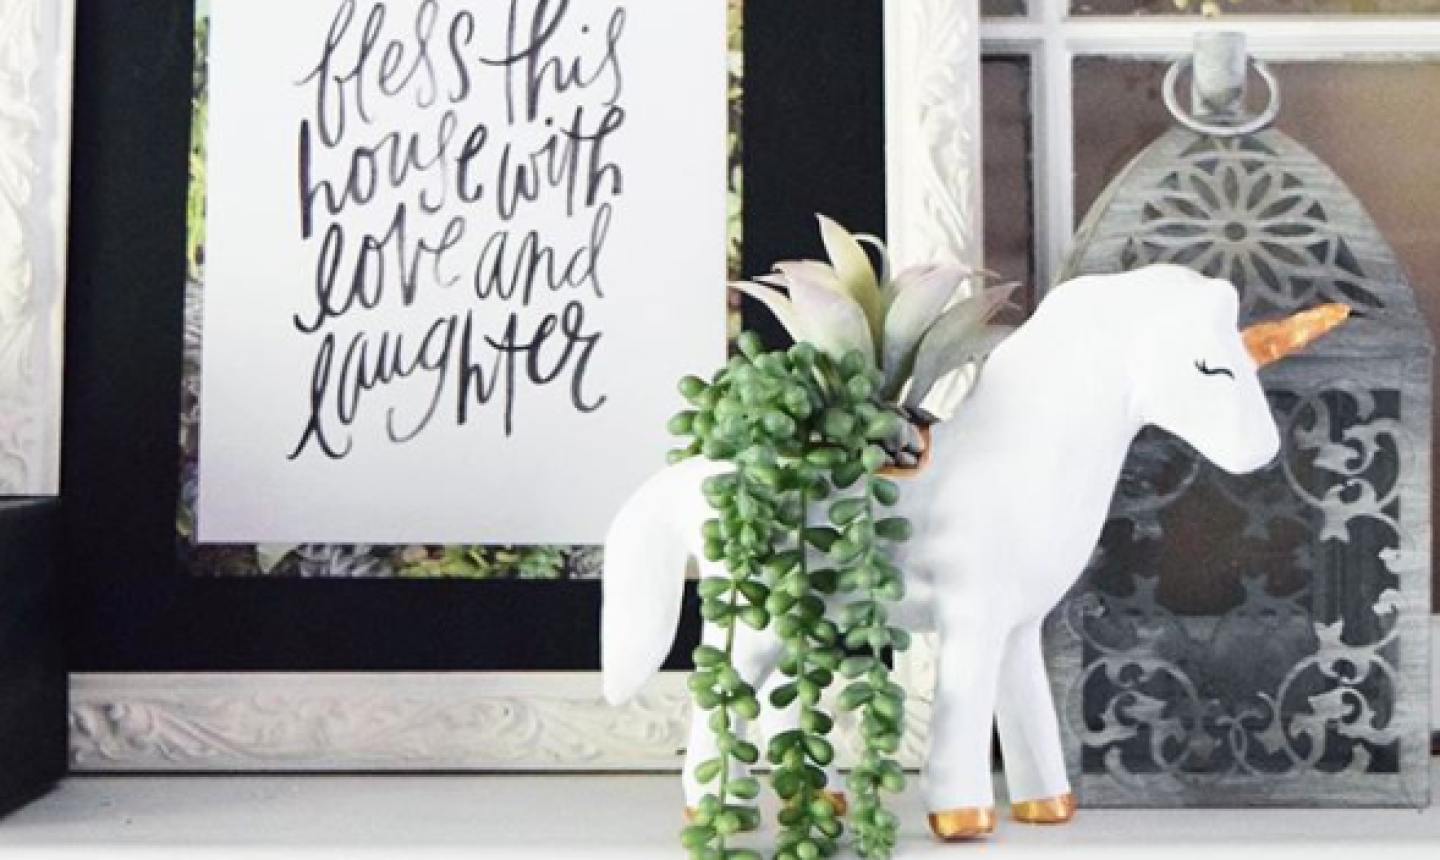
Photo by @gavandro
Kelly Genn, owner and blogger at Gav + Ro, has adored crafting since childhood. And even though she loves making planters, she admits that she doesn’t have a green thumb. “All of my plants are of the faux variety,” she says. No shame in that!
How to Make It
This charmer started with a paper maché figure that Kelly painted white. Then she cut into the top with an X-ACTO knife to make a space for the plant and filled the inside with small pebbles for weight and filler.
“Before putting the plant in, I added some gold details,” Kelly says. “I recommend using hot glue to secure the rocks at the top and around the inside to prevent anything coming loose. Add a touch of personality by drawing on a pretty eye with a permanent marker, or add some small faux flowers for a flower crown.”
Kelly adds, “I almost always recommend faux succulents, but for this project long, hanging plants make a great statement.”
3. Boho Beauty
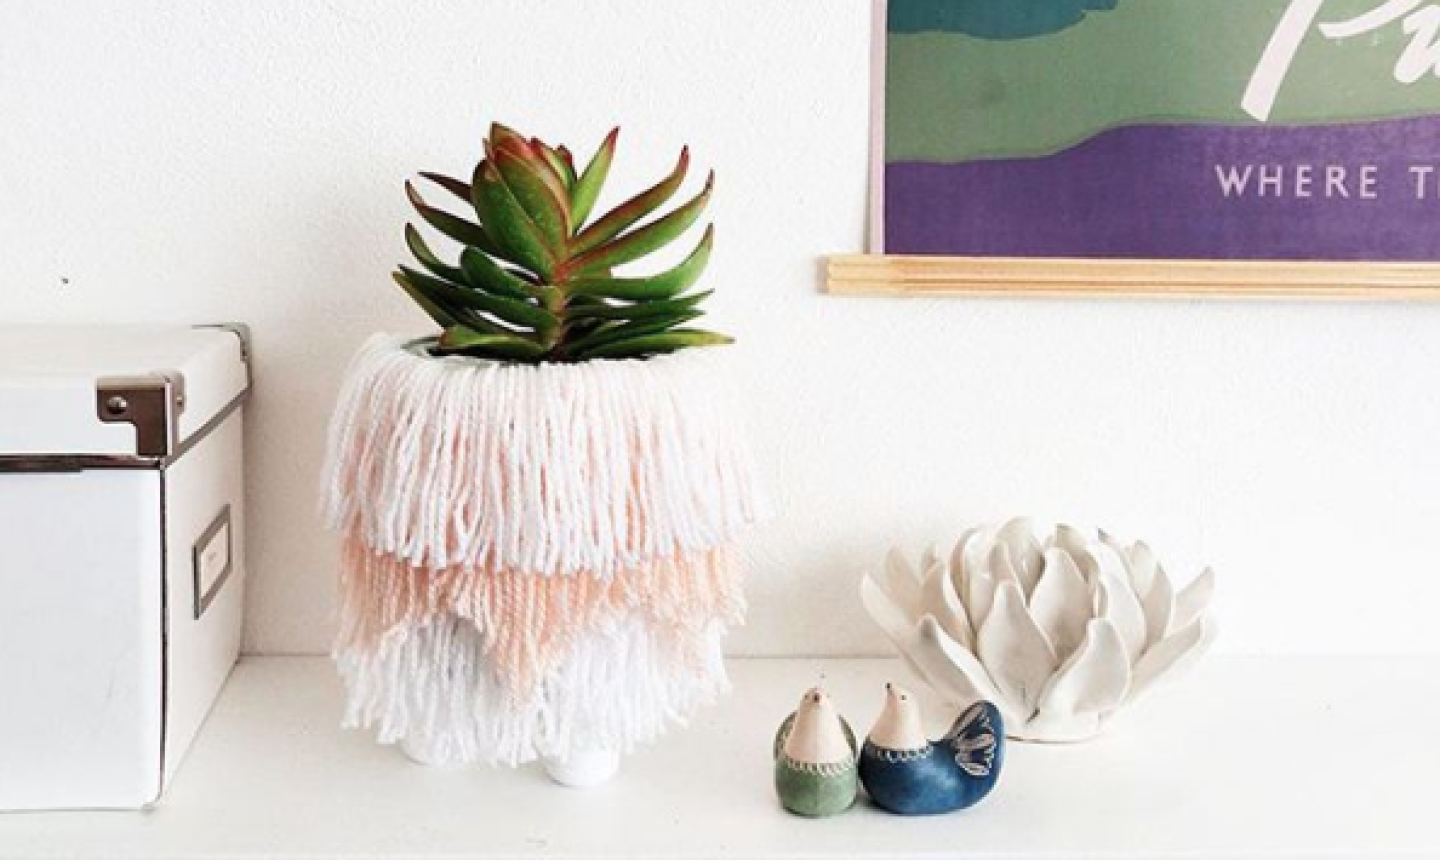
Photo by @ohoh.deco
Interior designer Amaryllis flaunts her unique style on her DIY blog Ohoh Deco. She particularly enjoys upcycling, turning tin cans and plastic containers into pretty planters.
How to Make It
This fringed planter amazingly started as nothing more than a humble tin can. Amaryllis featured a full tutorial on her blog, but here’s the basics: Round up a tin can, yarn, ribbon and a glue gun. You’ll wrap yarn around cardboard and snip to create fringe, and then work that ribbon and glue gun to put it all together. Instant cuteness!
Amaryllis recommends putting the plant into a plastic pot first and then sliding the plastic pot into the fringed planter. “It’s better not to wet the yarn when you water the plant,” Amaryllis says. “So the plastic pot will allow you to take the plant out when watering it without damaging the yarn.”
4. Pom Pom Panache
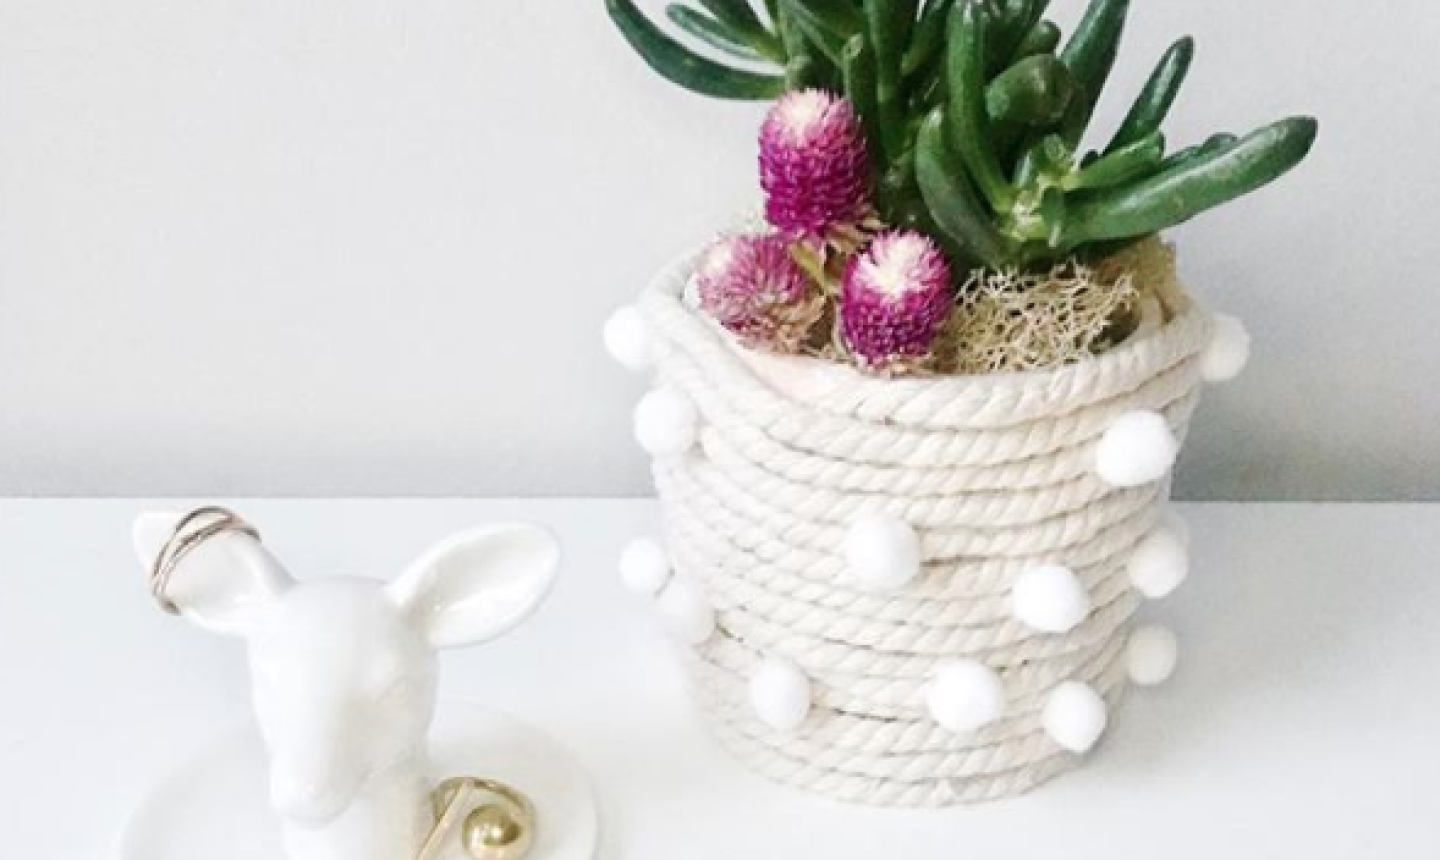
Photo by @stylishlytidylife
Product and lifestyle designer Ange-line Tetrault spotlights her DIY know-how on her blog, Stylishly Tidy Life. She specializes in spiffing up everyday things with a little creative flair. “I love seeing how adding an extra detail transforms the look and feel,” she says.
How to Make It
Rah rah! We are loving this spirited pom-pom planter, and to make it, all you need is cotton rope, pom poms, scissors and a glue gun. Ange-line takes us through the process: “Start coiling your rope to make the base of the planter and apply hot glue around the perimeter. Make sure you make a tight coil. Once your base coil is at the right size (basically matching the base of the pot you plan to put inside), place your pot on top of the base and continue to glue the rope tightly around the pot. With your scissors, cut the rope’s end and glue it down onto the inside. Glue on your pom poms with a hot glue gun. I placed the pom poms randomly, but you can create a pattern.”
You can also make this planter without a pot inside if you like (though you’ll want to slip one in eventually to hold your plant!). When you get the desired base size, just continue gluing the rope on top of the outer ring of the coil, and keep coiling and applying hot glue until you reach the desired height.
You can make this same planter more rustic by using a jute rope, or make it playful by adding colorful contrasting pom poms instead of neutral. So fun!
5. Disco Dazzle
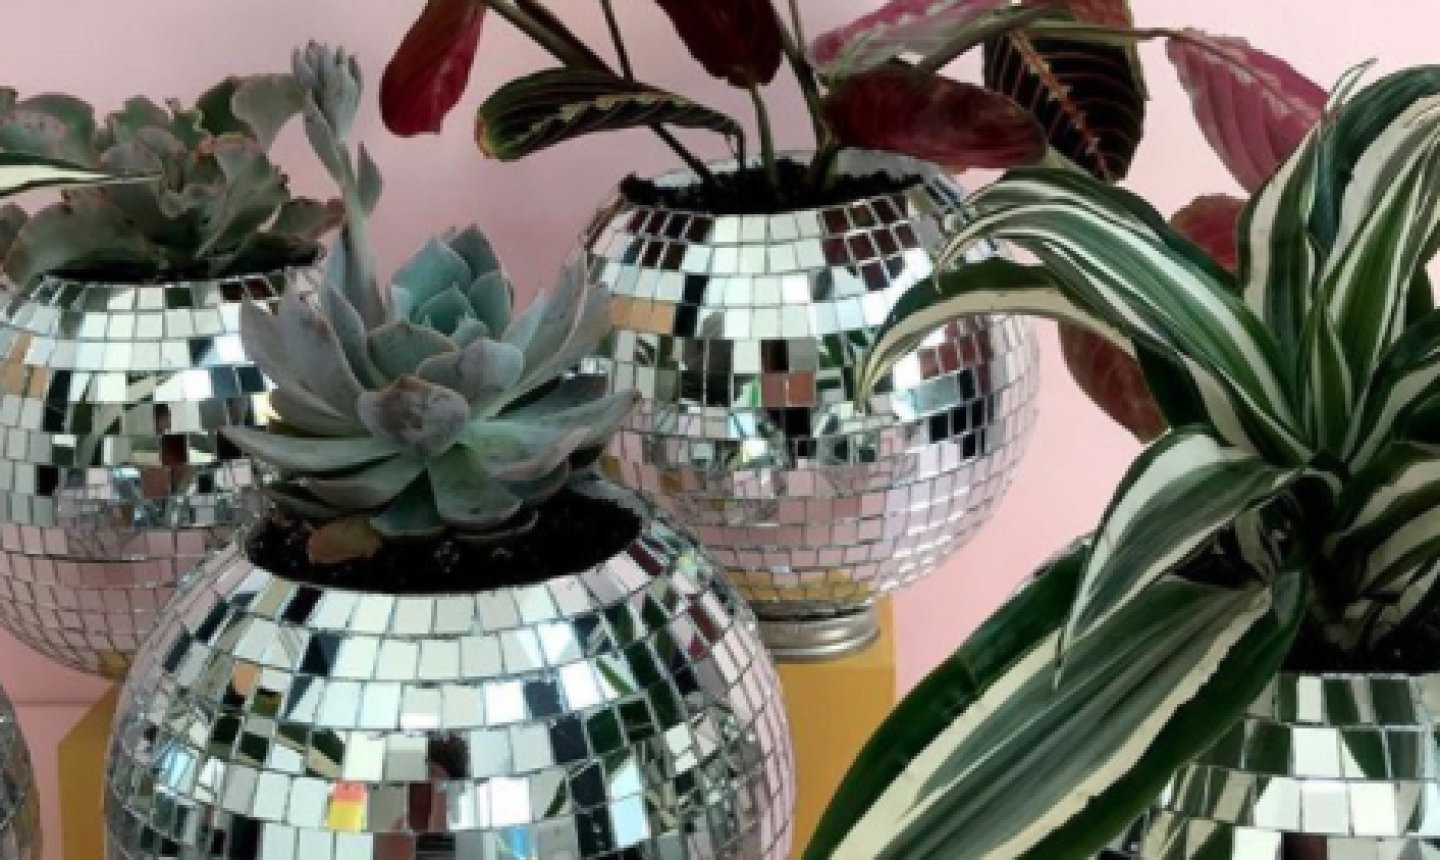
Photo by @hello.poni
Nicola Vruwink is the founder and CEO of Poni, a company that specializes in festive and fun party decorations. She made these for a friend’s 50th birthday party. “She is terribly sparkly herself, so it made perfect sense!” Nicola says.
How to Make It
Nicola says, “First, I had to source the disco balls at the right size — not too big to be overwhelming, but big enough to comfortably house a plant and hold their own as decorations. I was delighted to find that disco balls are hollow, and this amazing fact saved me much time. To start, I pried off several rows of the mirror squares and then cut the top off with a hand saw. To make for a cleaner edge, I painted it with black acrylic. And that’s it! It’s one of the easier projects I have concocted.”
To keep the disco balls from rolling around, Nicola crafted stands for them with leftover rings from mason jar lids.
6. Simple Style

Photo by @whitecactushouse
StevieAnn Nance is the owner of a gorgeous Airbnb in Joshua Tree, California called White Cactus House. This minimalist planter is a perfect example of her desert-meets-modern style.
How to Make It
StevieAnn started with terracotta planters that she picked up for a buck apiece. She says, “Using painter’s tape, I taped off three sides on the front and back of each planter, leaving a small triangle shape on each side. I sprayed a quick, sweeping spray of white spray paint in the middle of the triangle shapes on each side.”
She waited 15 minutes to spray a second coat, then peeled off the tape while the paint was still wet. The pot should be dry enough to handle in an hour.
“Any herbs, cacti or succulents would look great in this planter,” StevieAnn says. “A funky little thyme plant would look especially cute and be great to have on hand for cooking!”
I love garding and i love house plants and i love crafts