
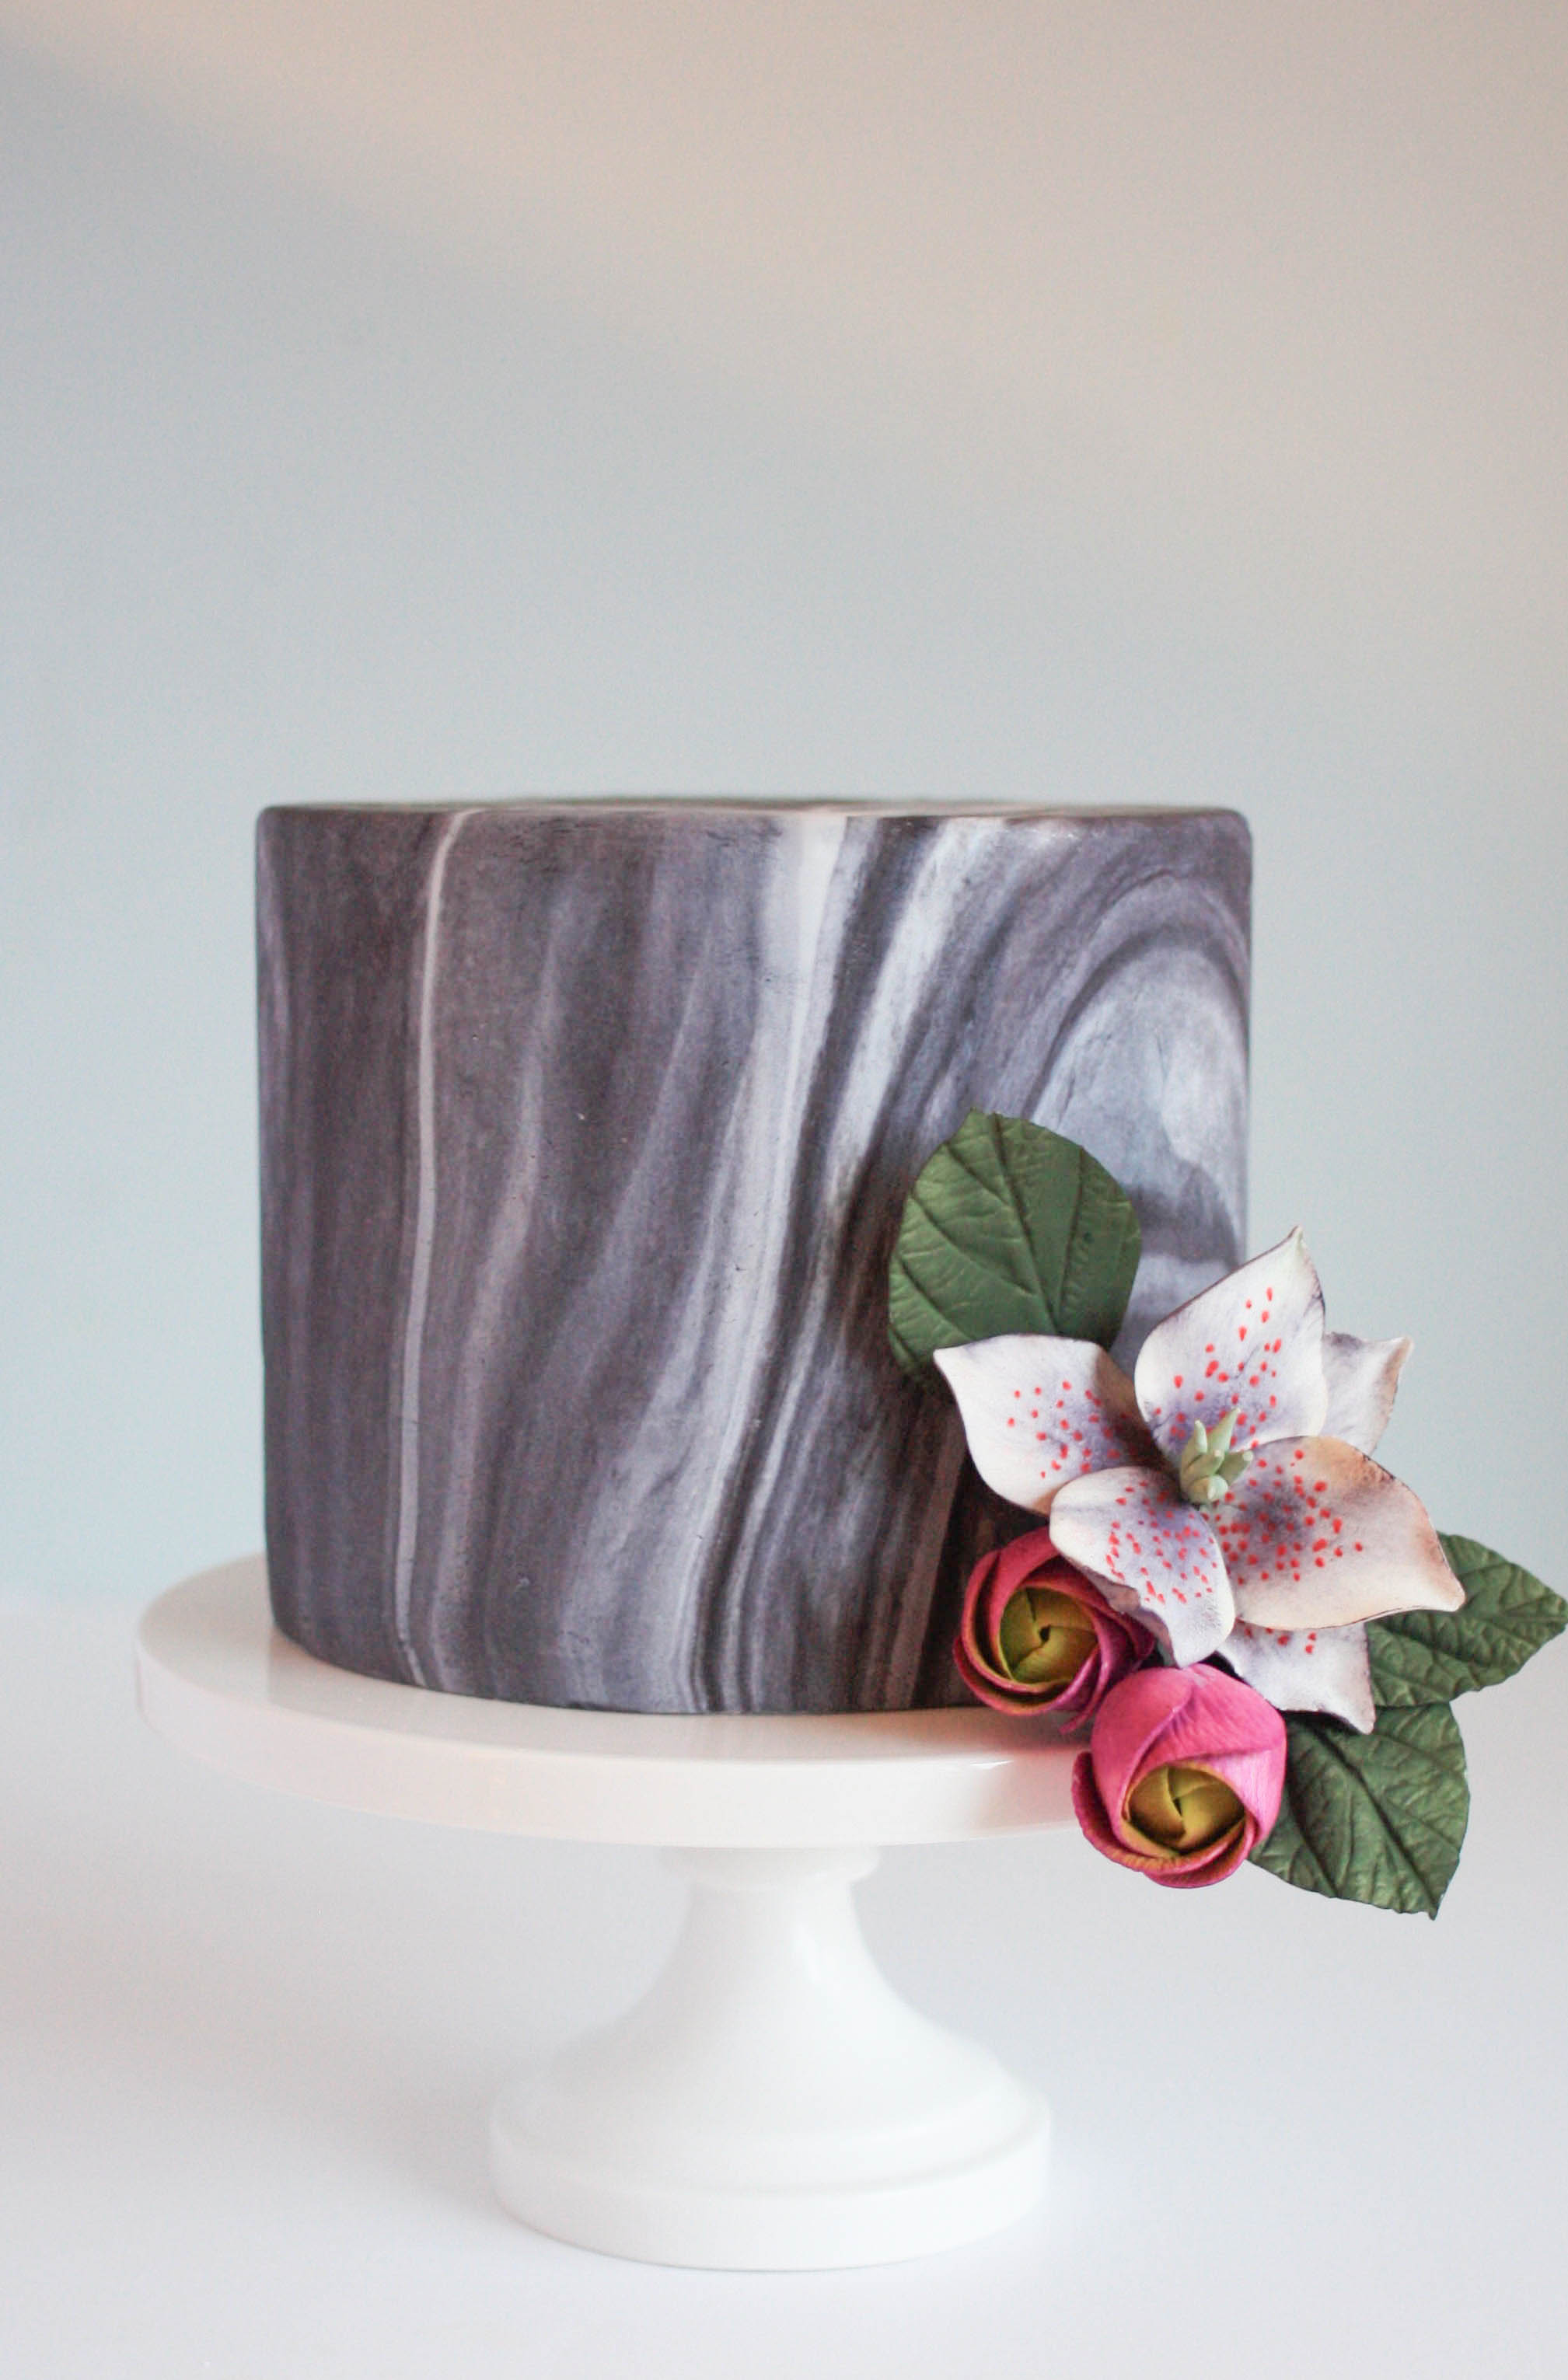
Marbling fondant is a quick, easy and fun way to create an elegant and timeless cake finish. Just remember – roll, twist, bend, squish! The more times you repeat that process, the more marbled your fondant will be. I’ve created a classic marble look for my cake, but you can use the same technique to create a marbled galaxy, smooth marbled fondant stones, or even a wavy marbled swimming pool.
Photos via Erinbakes.com
Master Advanced Fondant Techniques!

Revealed! Celebrity cake decorator Marina Sousa’s secrets for creating jaw-dropping cakes with advanced fondant techniques from embossing to appliqué.
How to marble fondant
Supplies:
- Crumb-coated cake
- Black fondant
- White fondant
- Fondant rolling pin
- Small knife
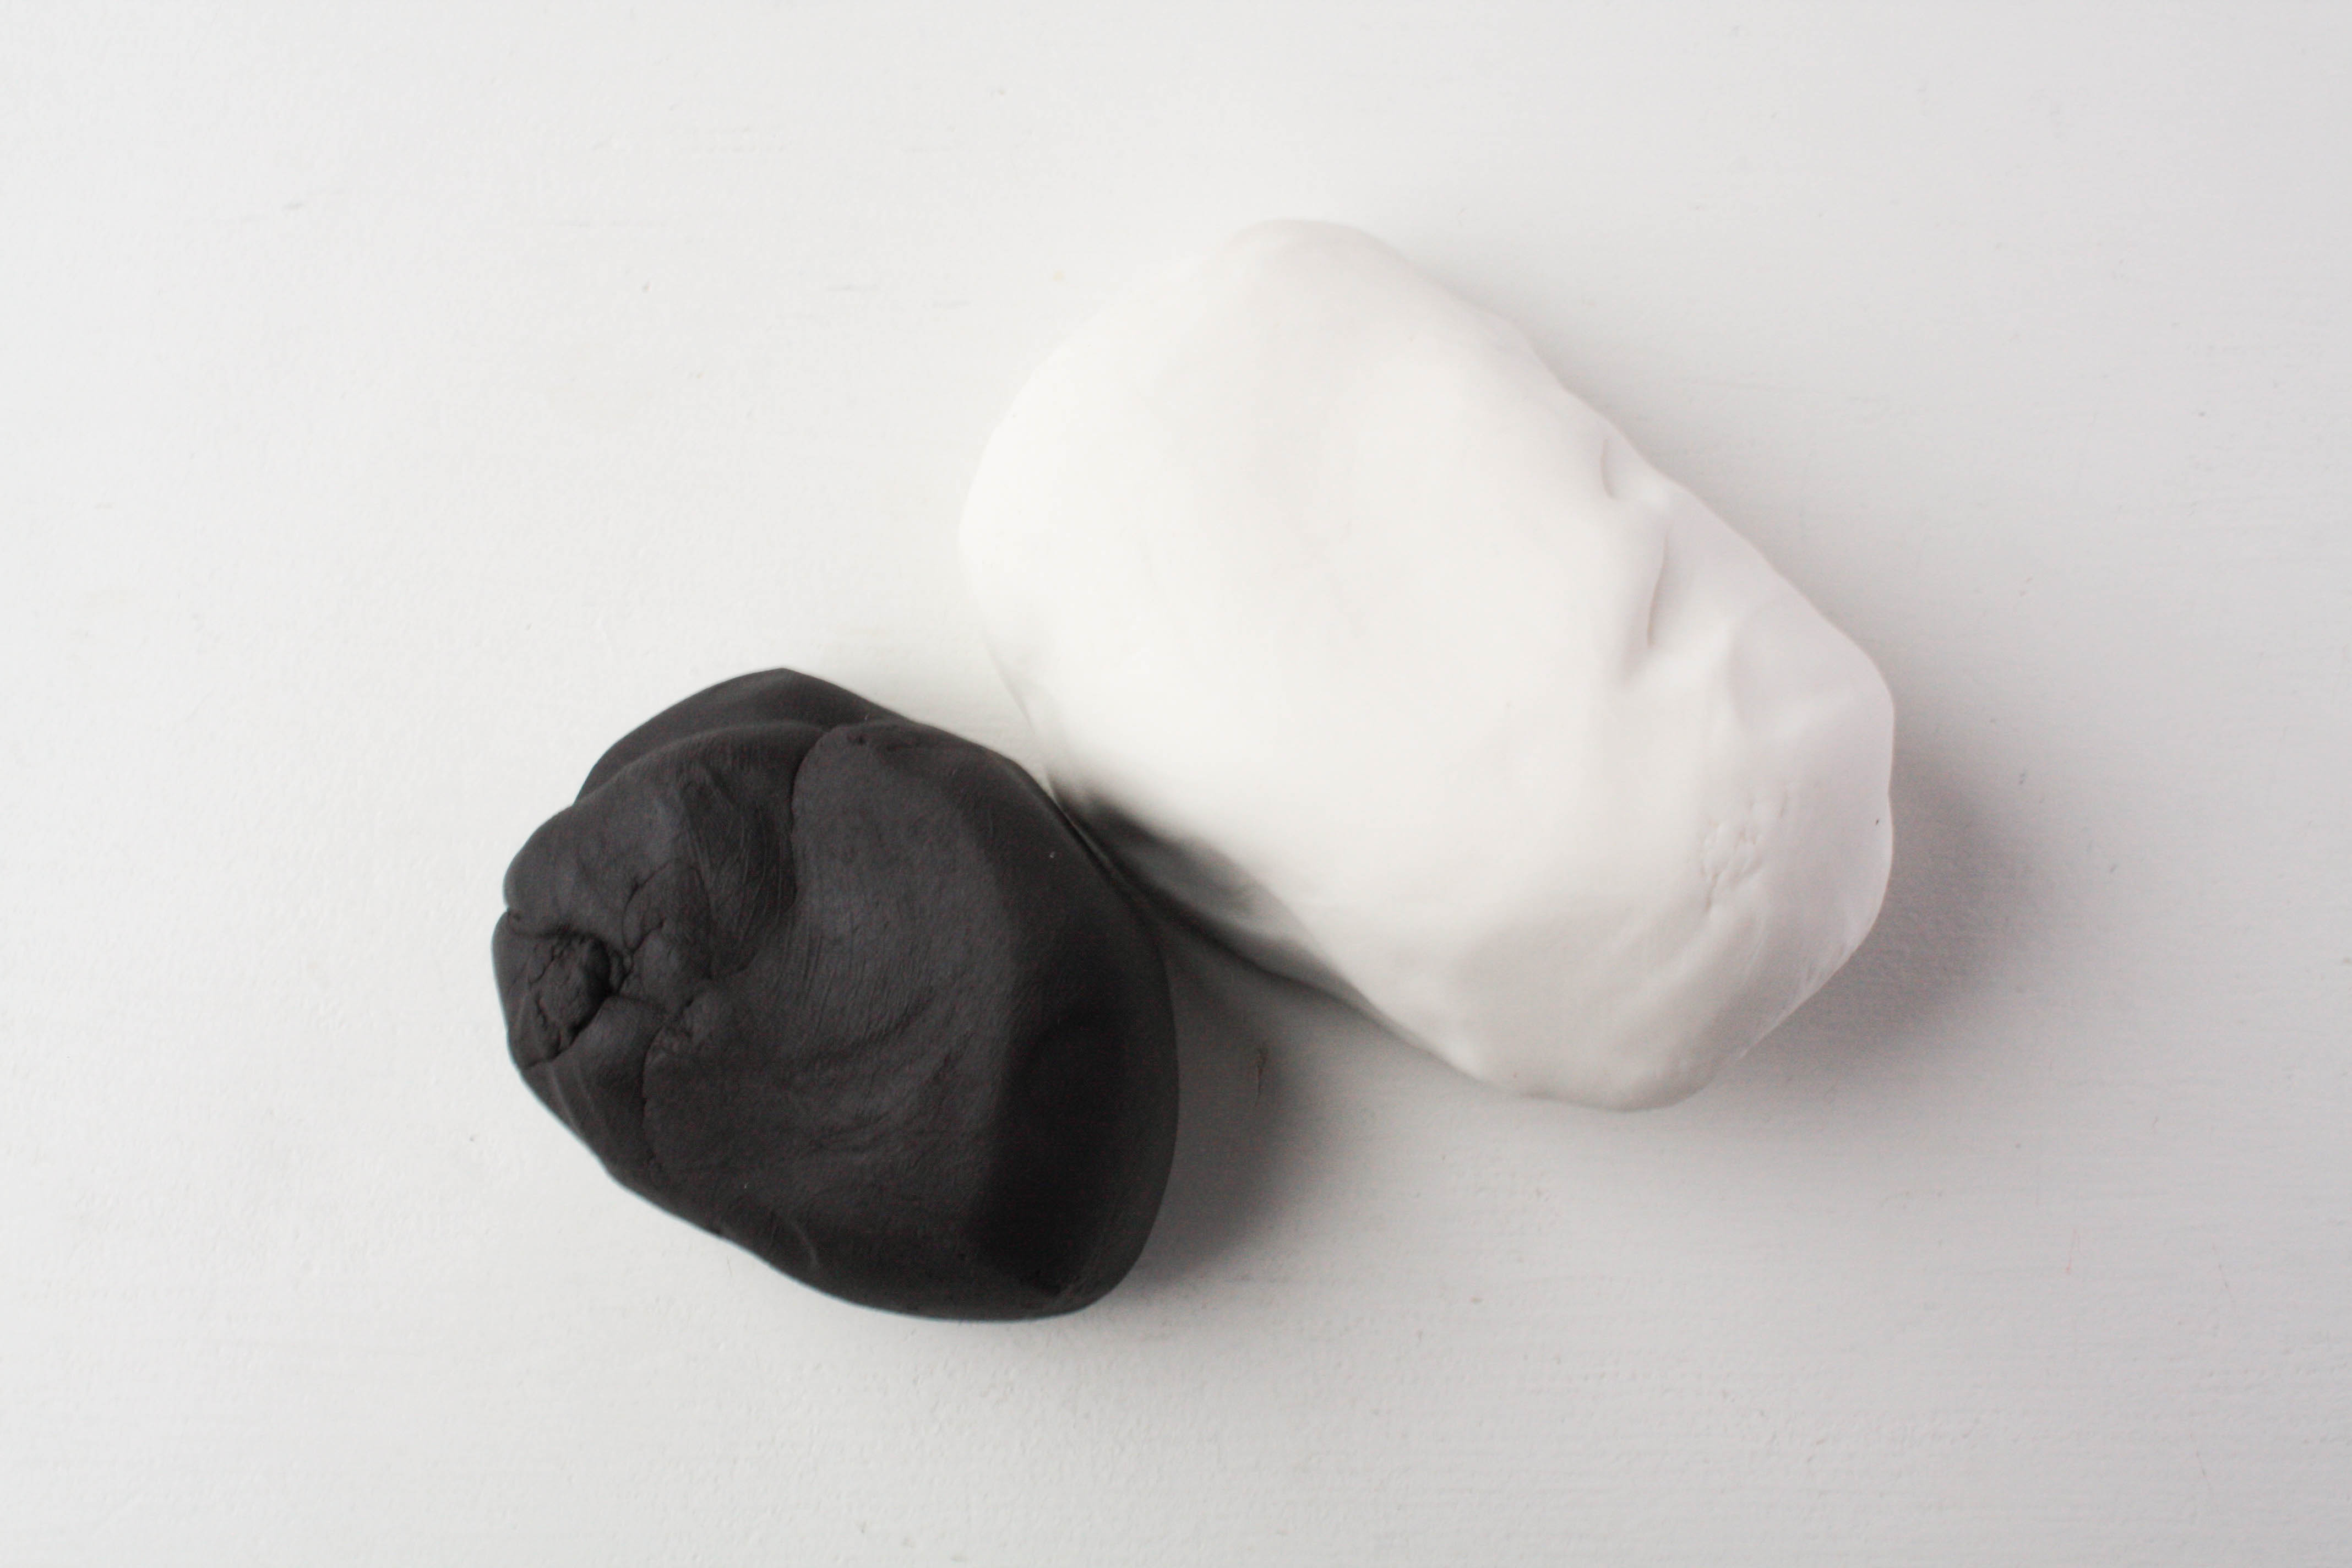
Step 1:
Portion enough black and white fondant to cover your cake.
How much do you need? Check out this handy-dandy chart on Satin Ice’s website: How Much Fondant. I covered a 6-inch round cake and wanted my marble to be lighter in color, so I used 2/3 white fondant to 1/3 black fondant. Be creative and play with the proportions or use more than two colors.
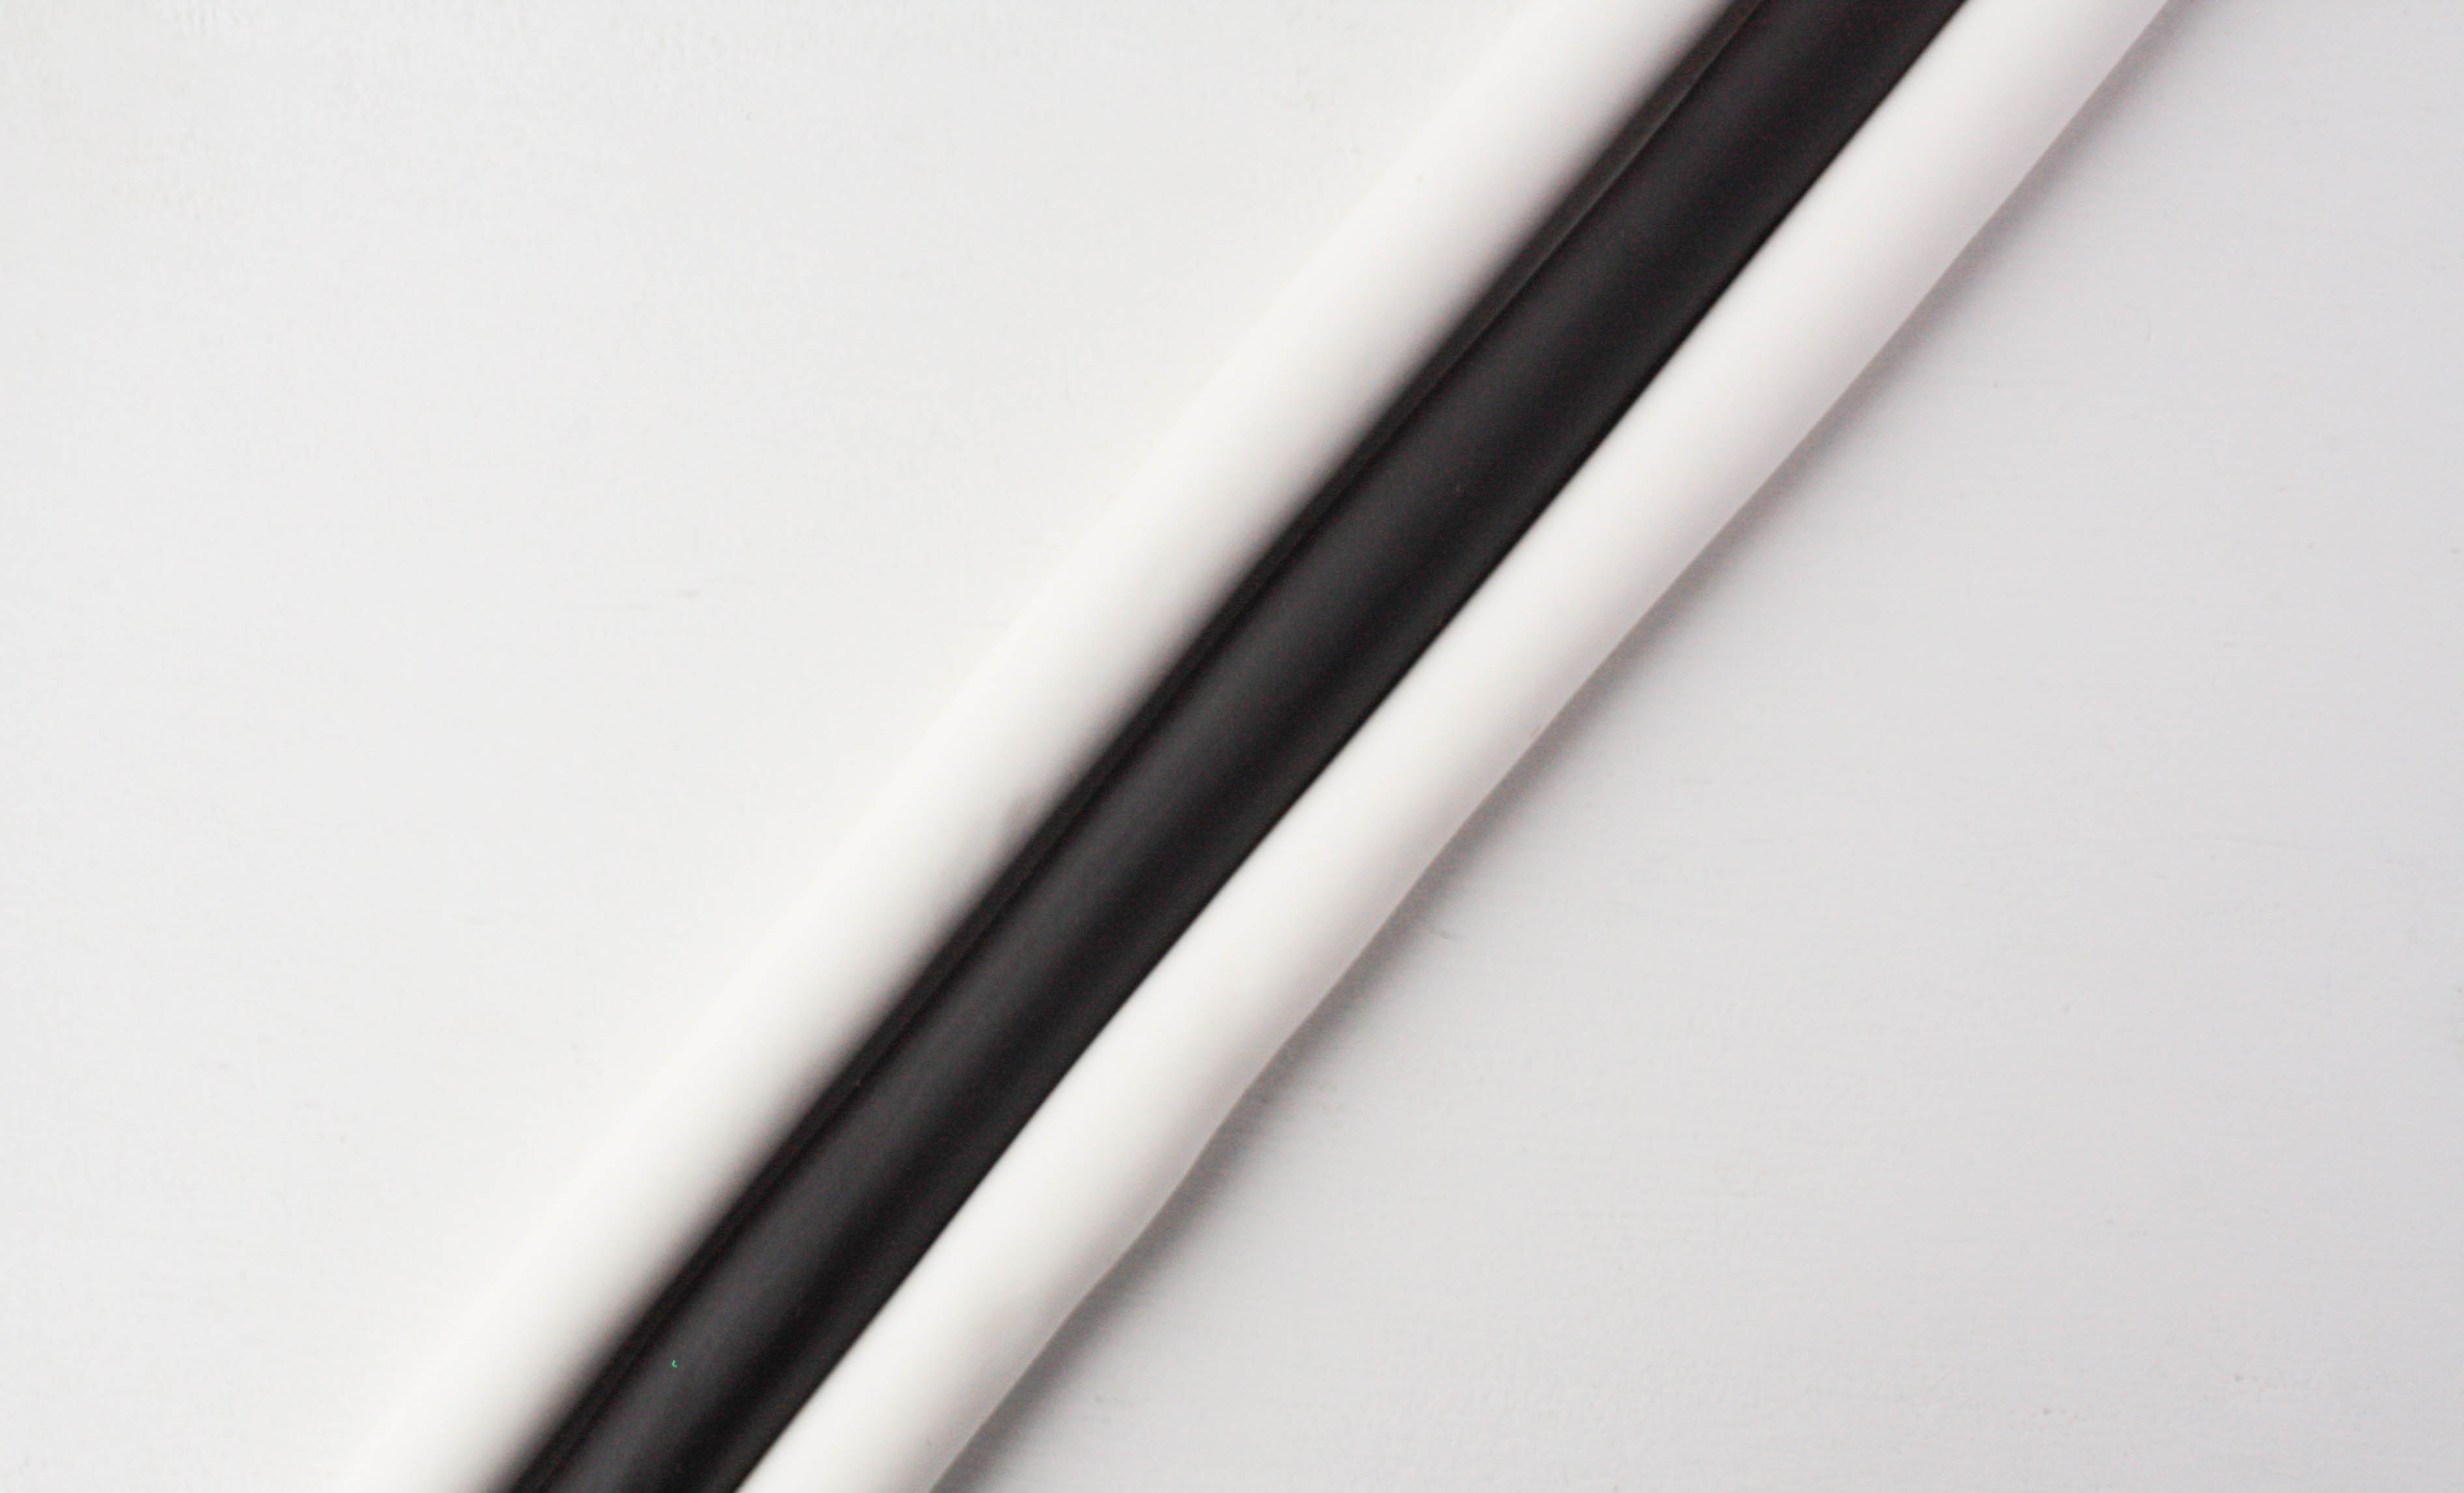
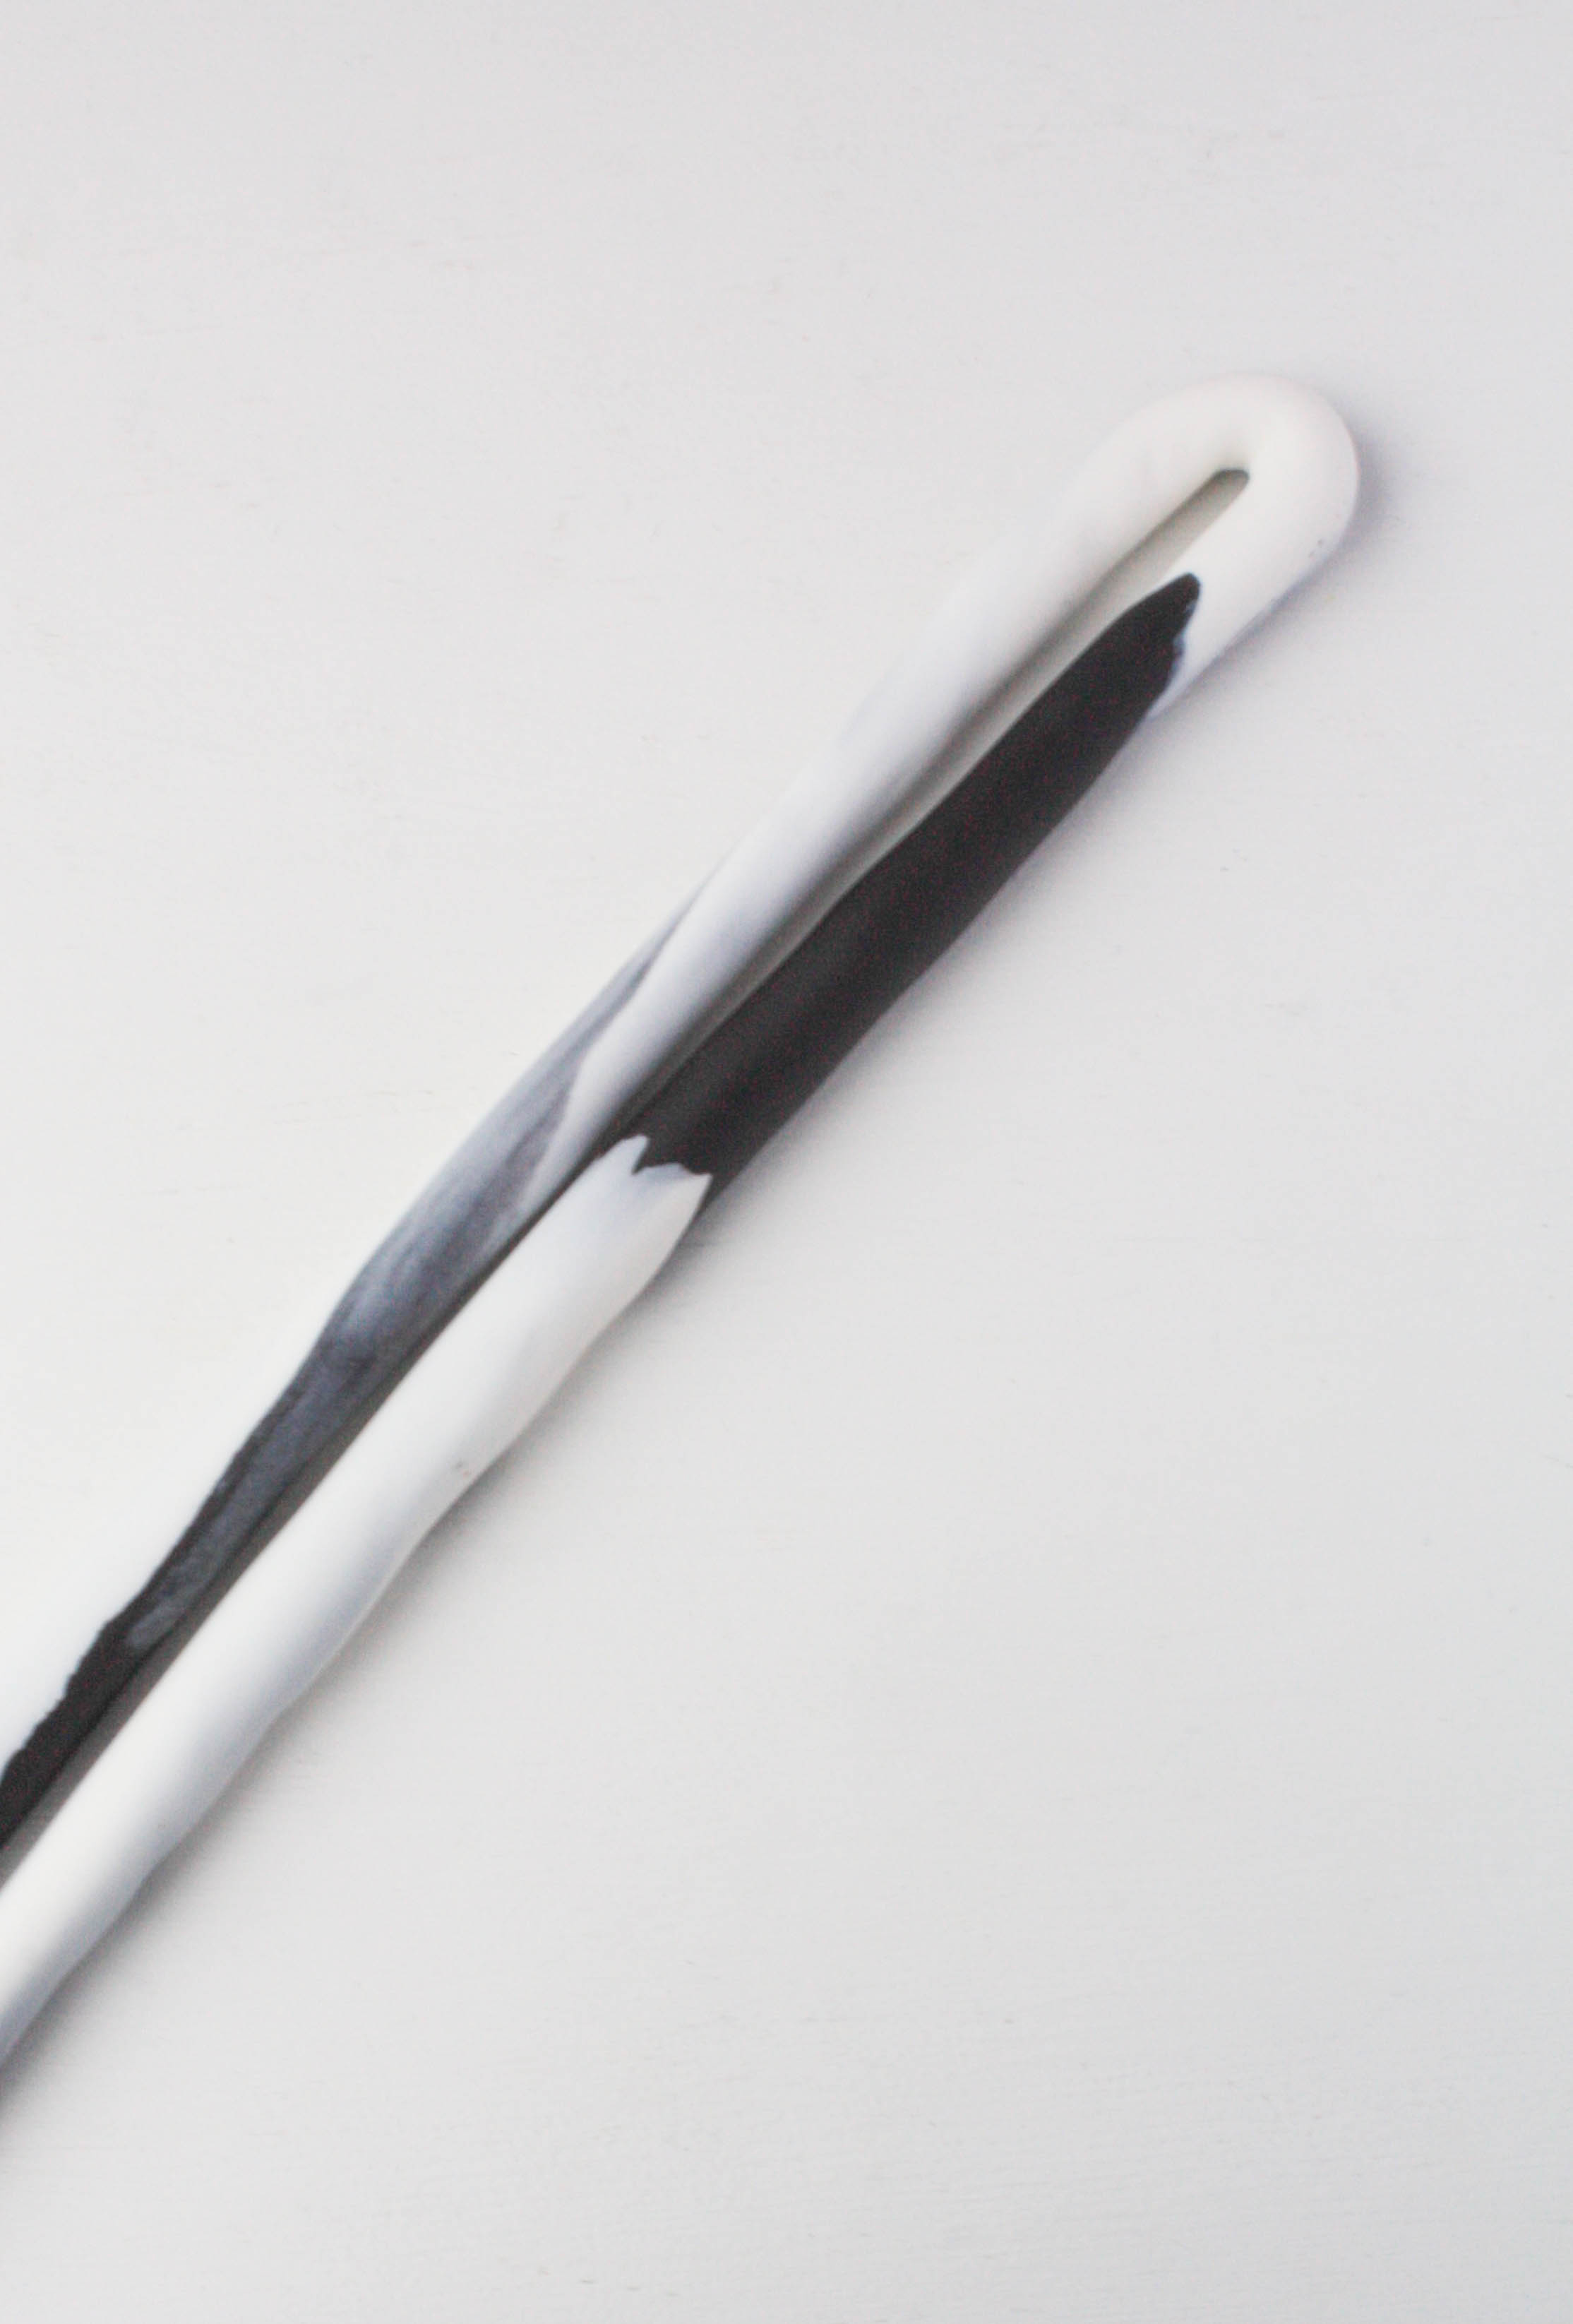
Step 2:
Roll your fondant into long ropes, equal in size. Cut the white rope in half and lay a piece on either side of the black rope.
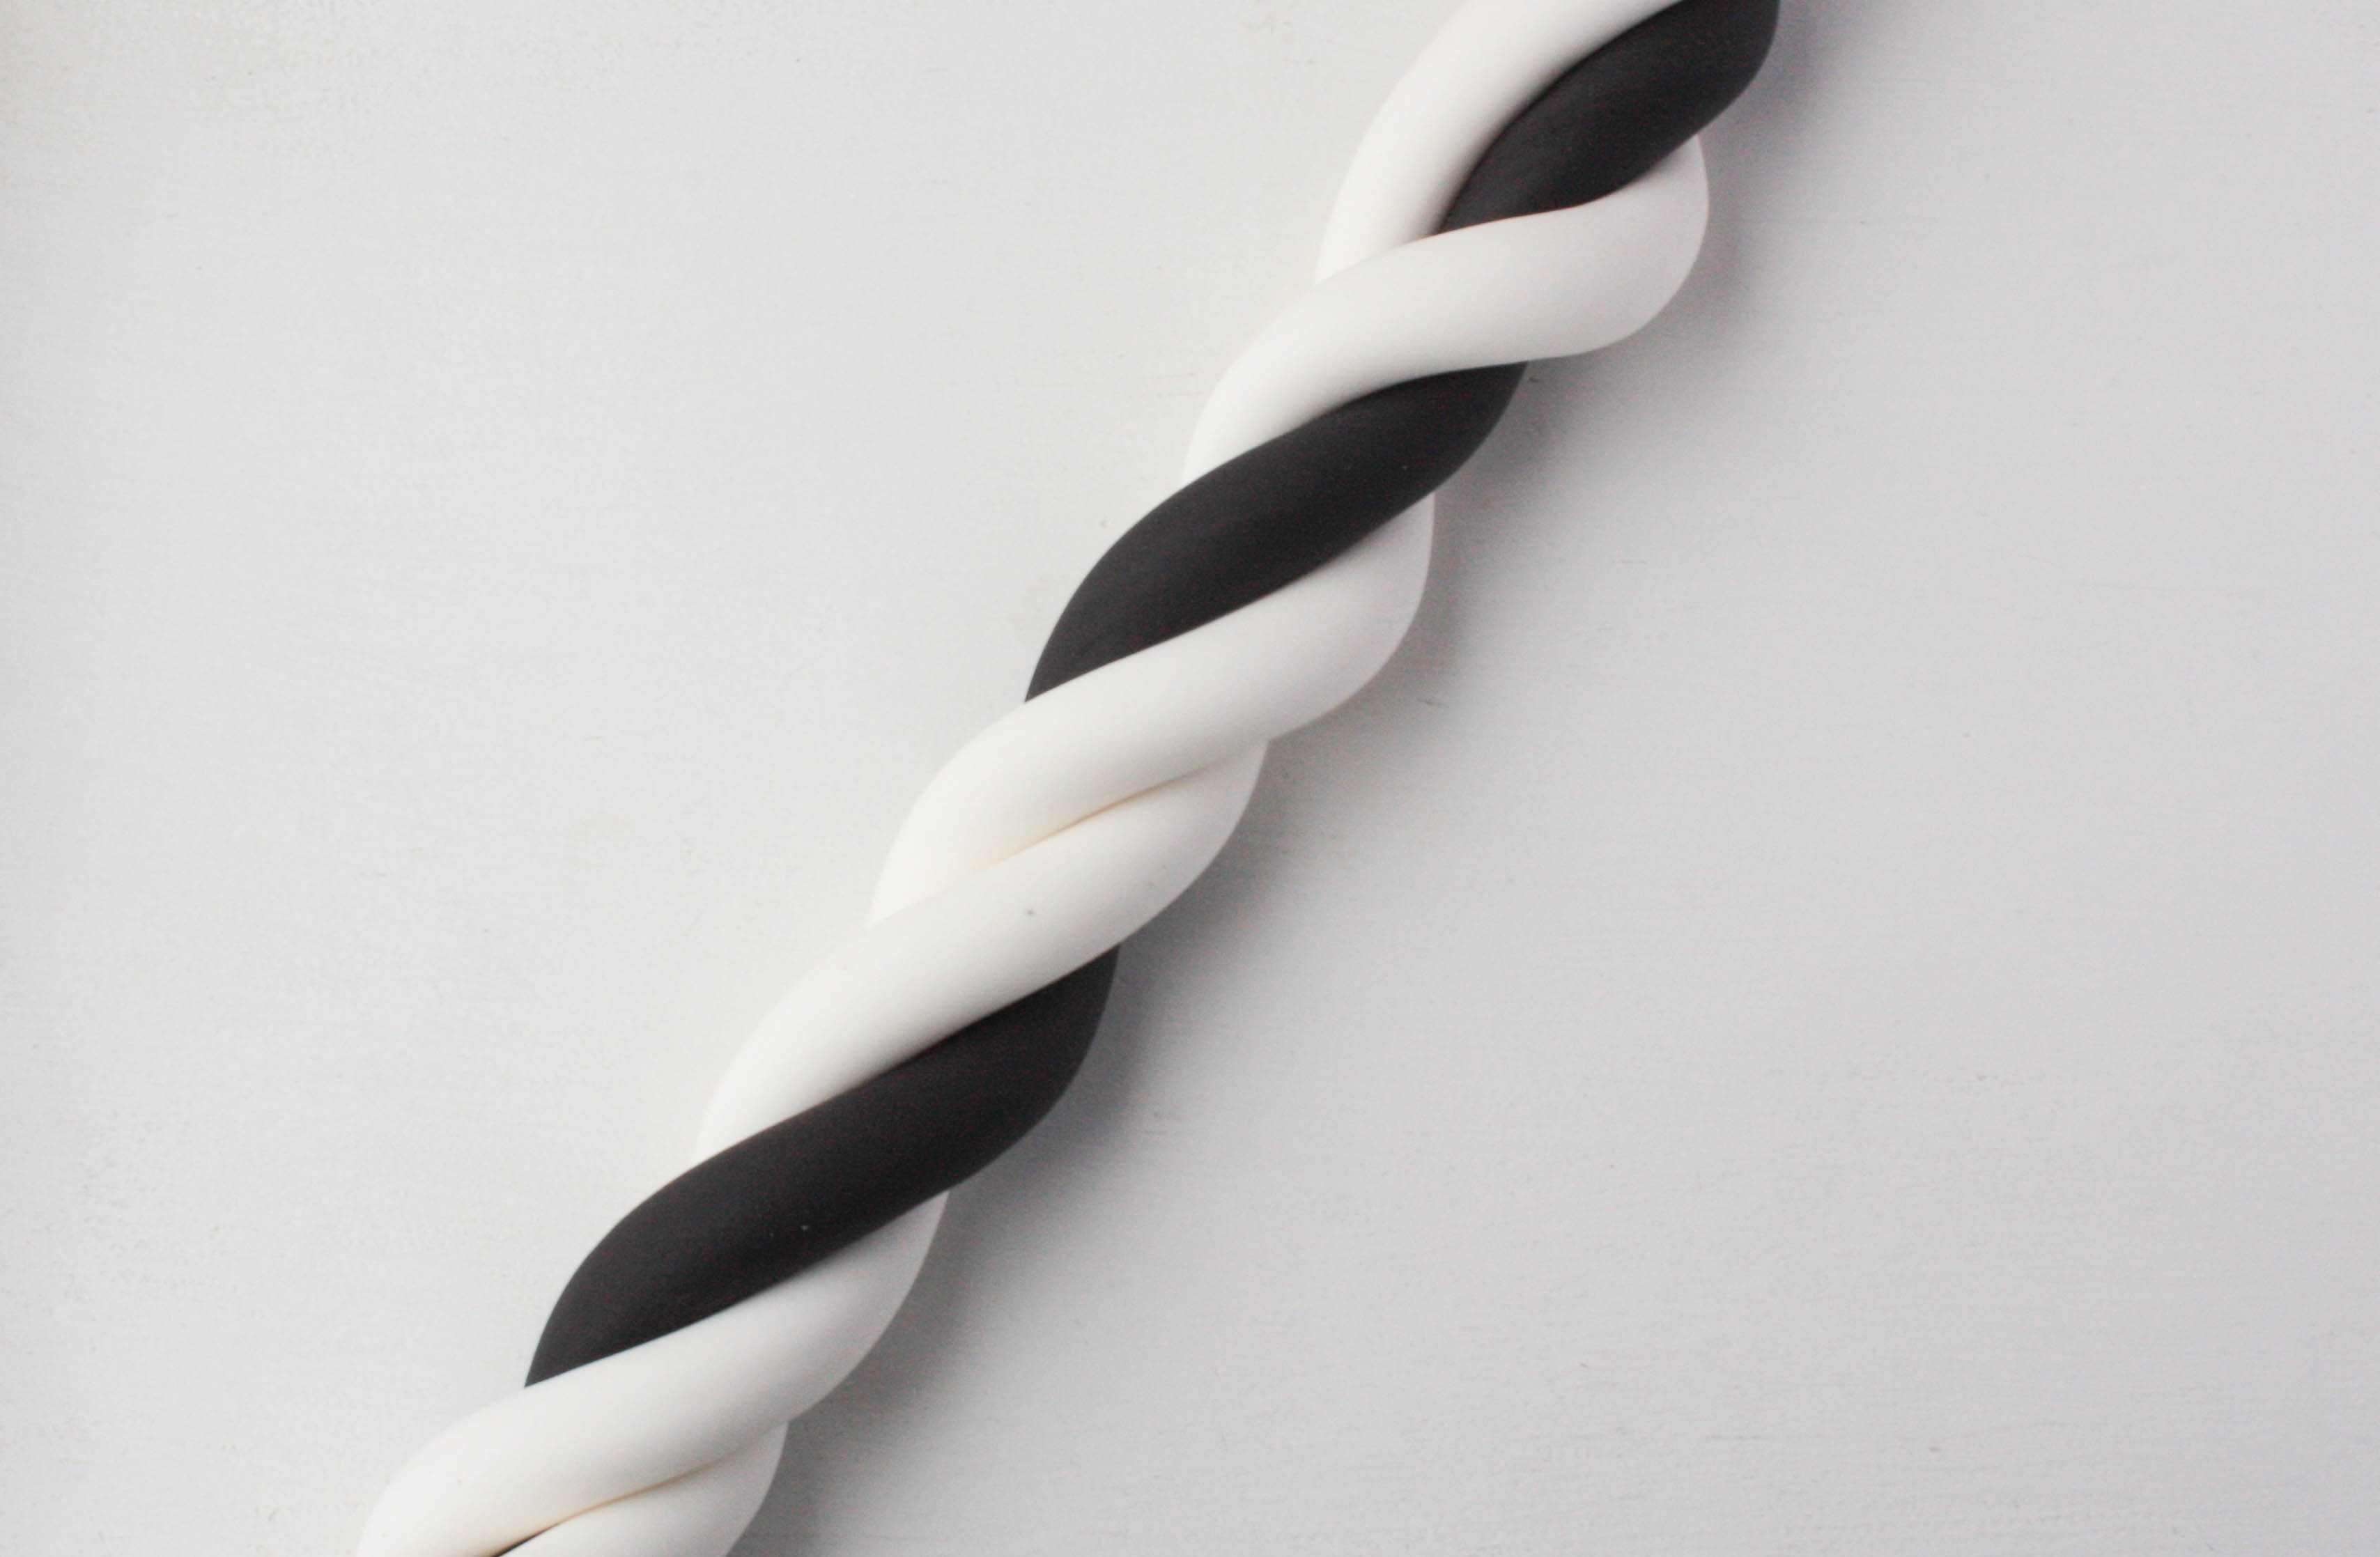
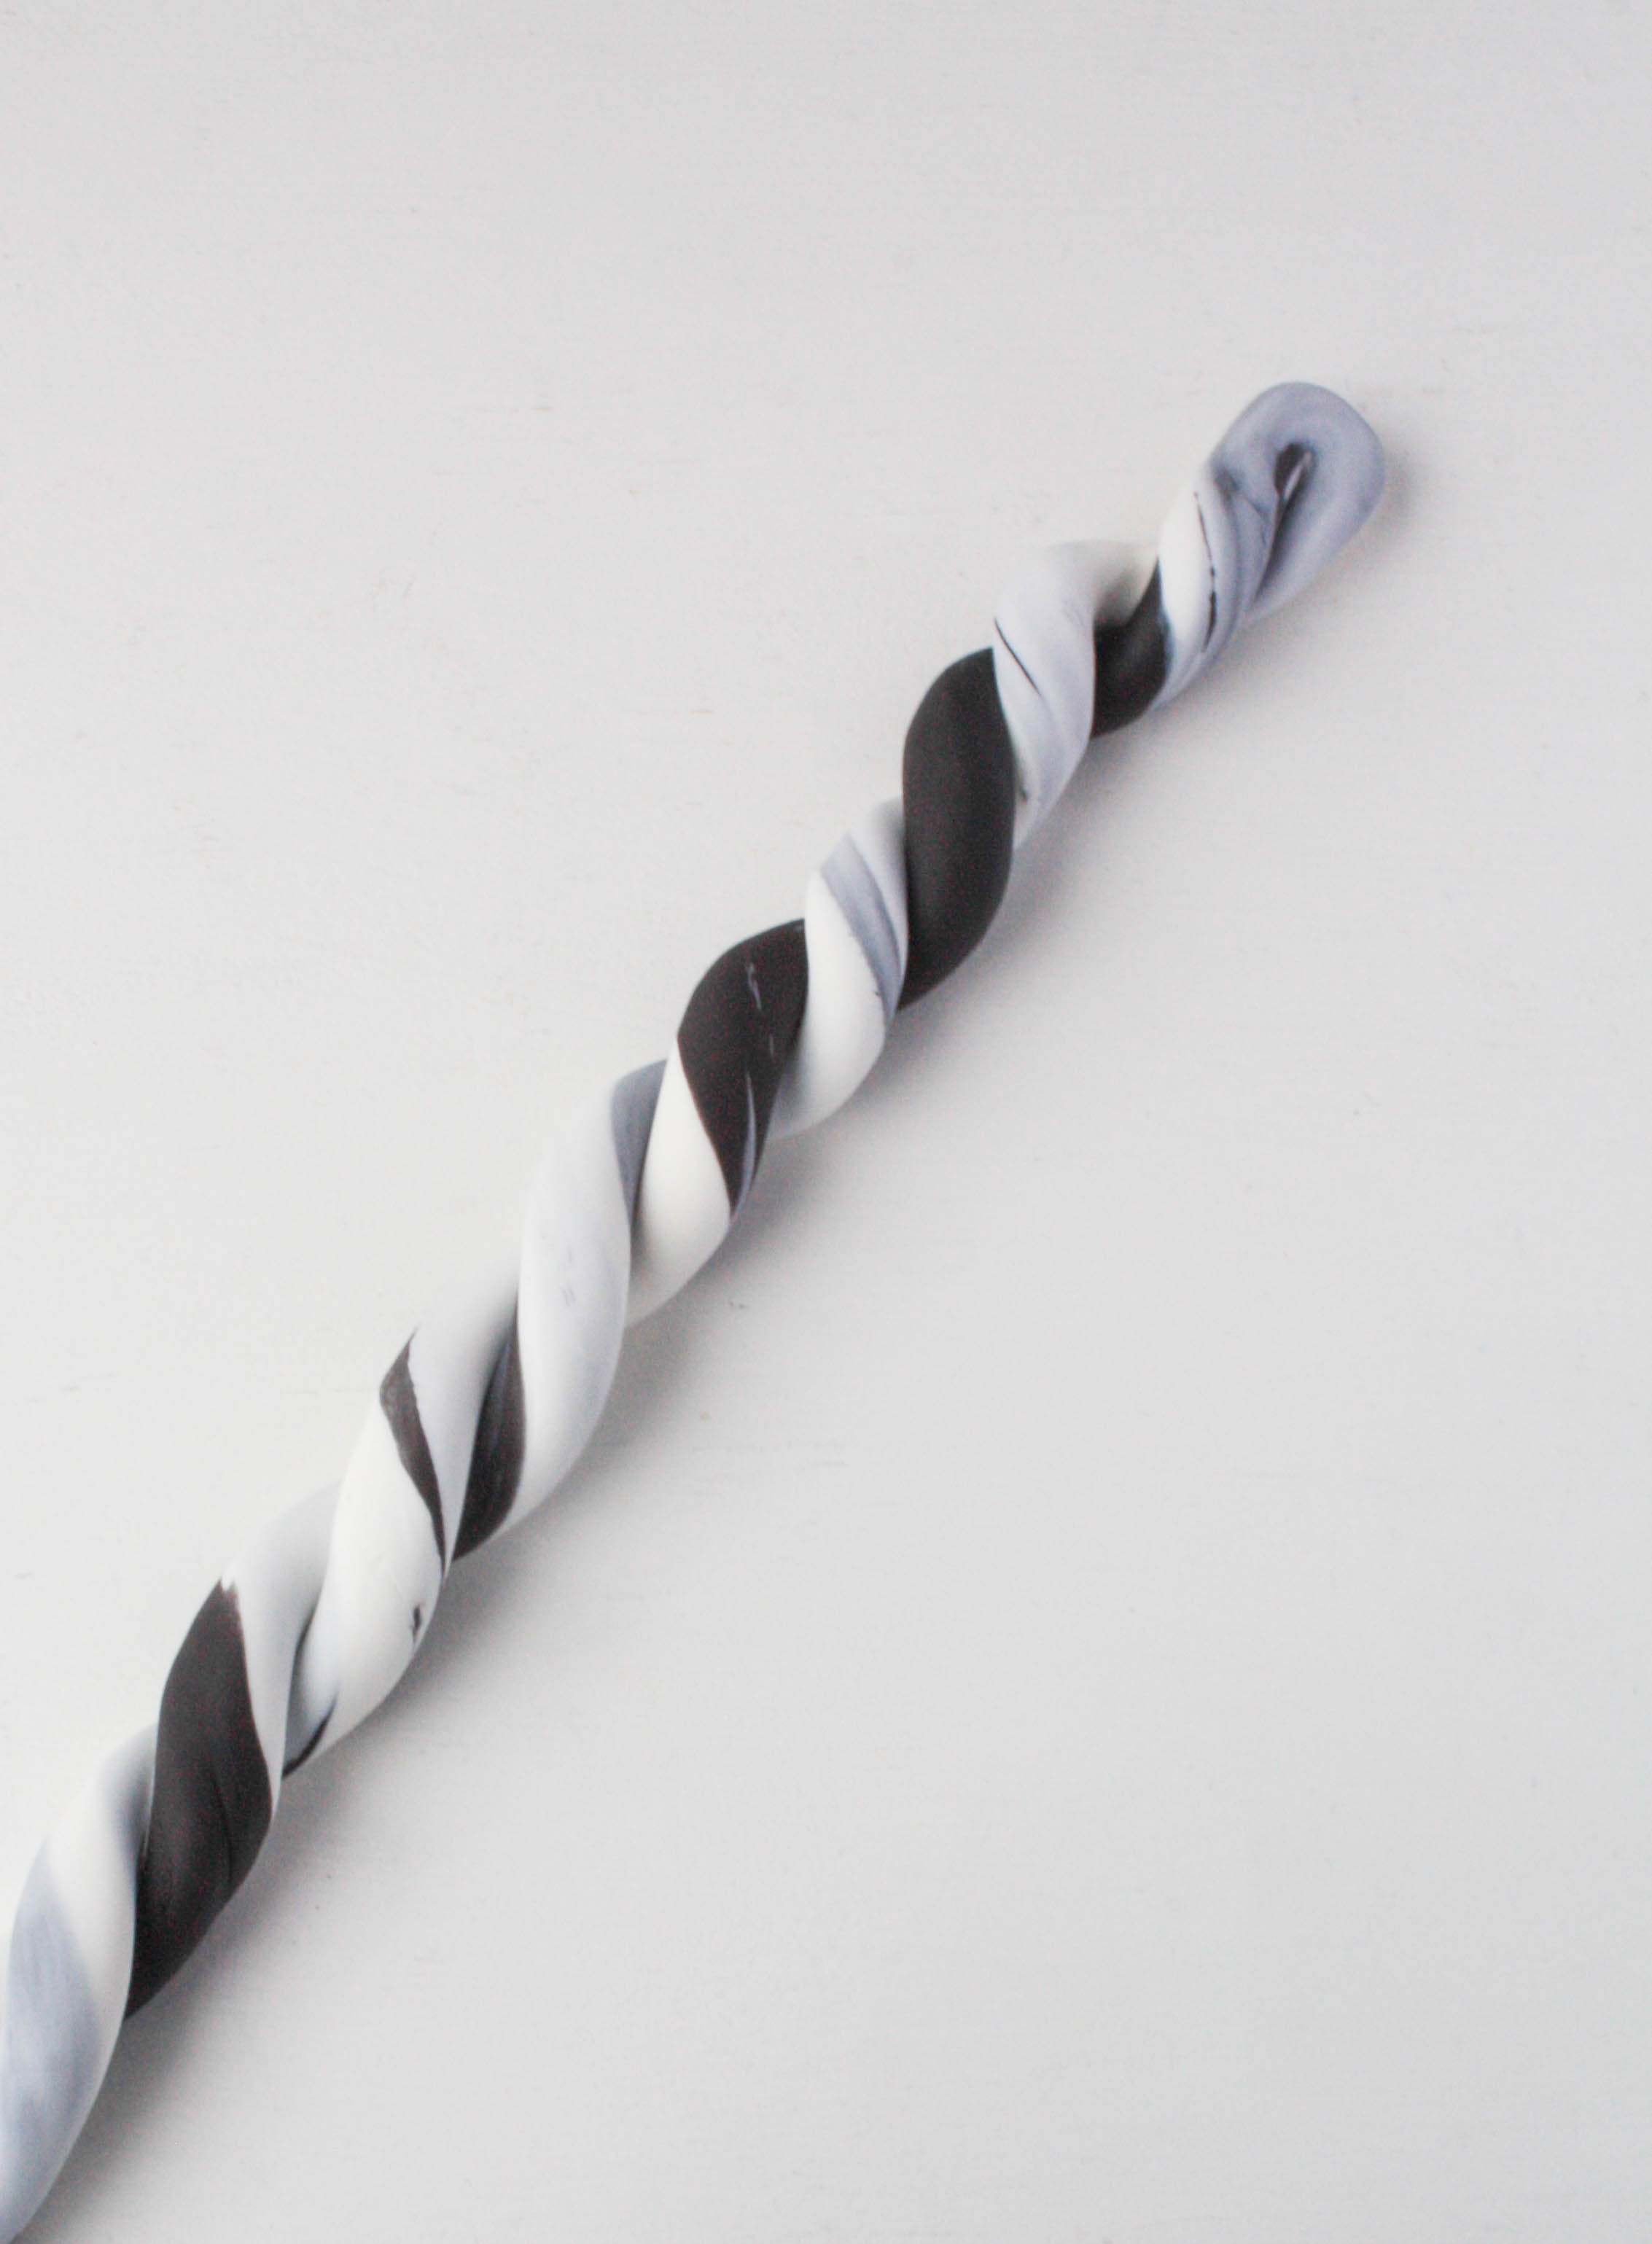
Step 3:
Twist the ropes together and give them a gentle squeeze, so that they stick together.
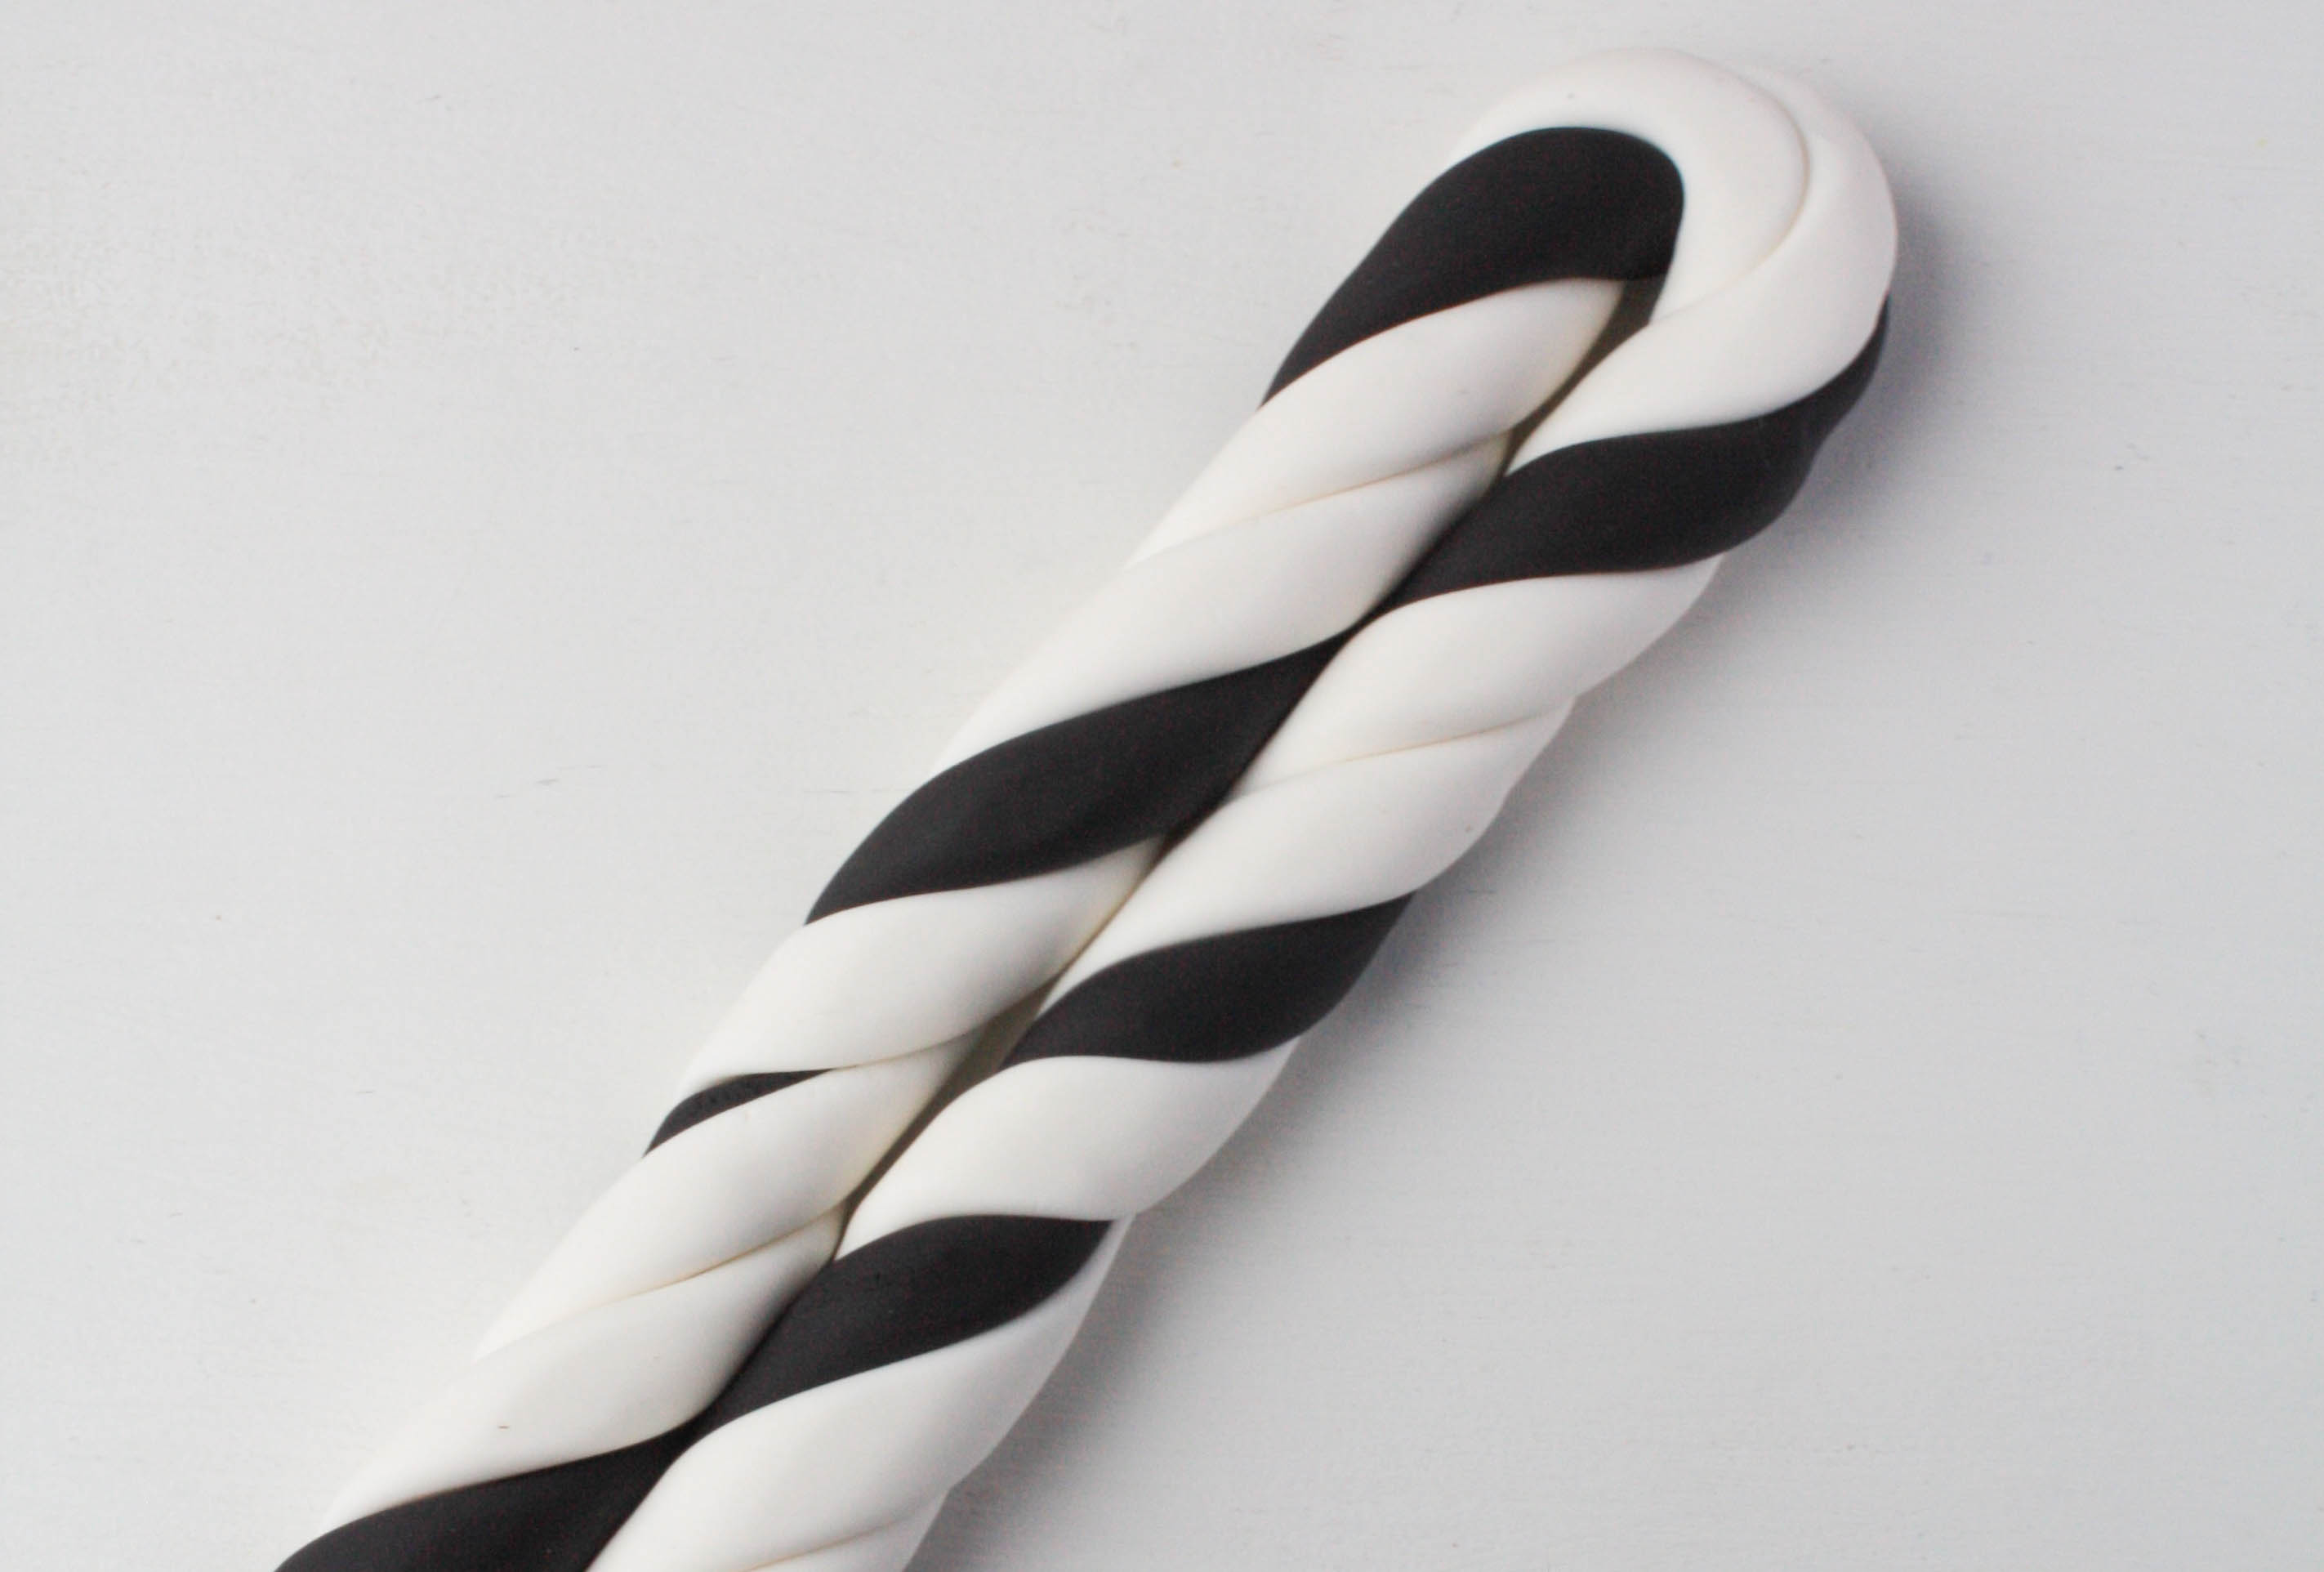
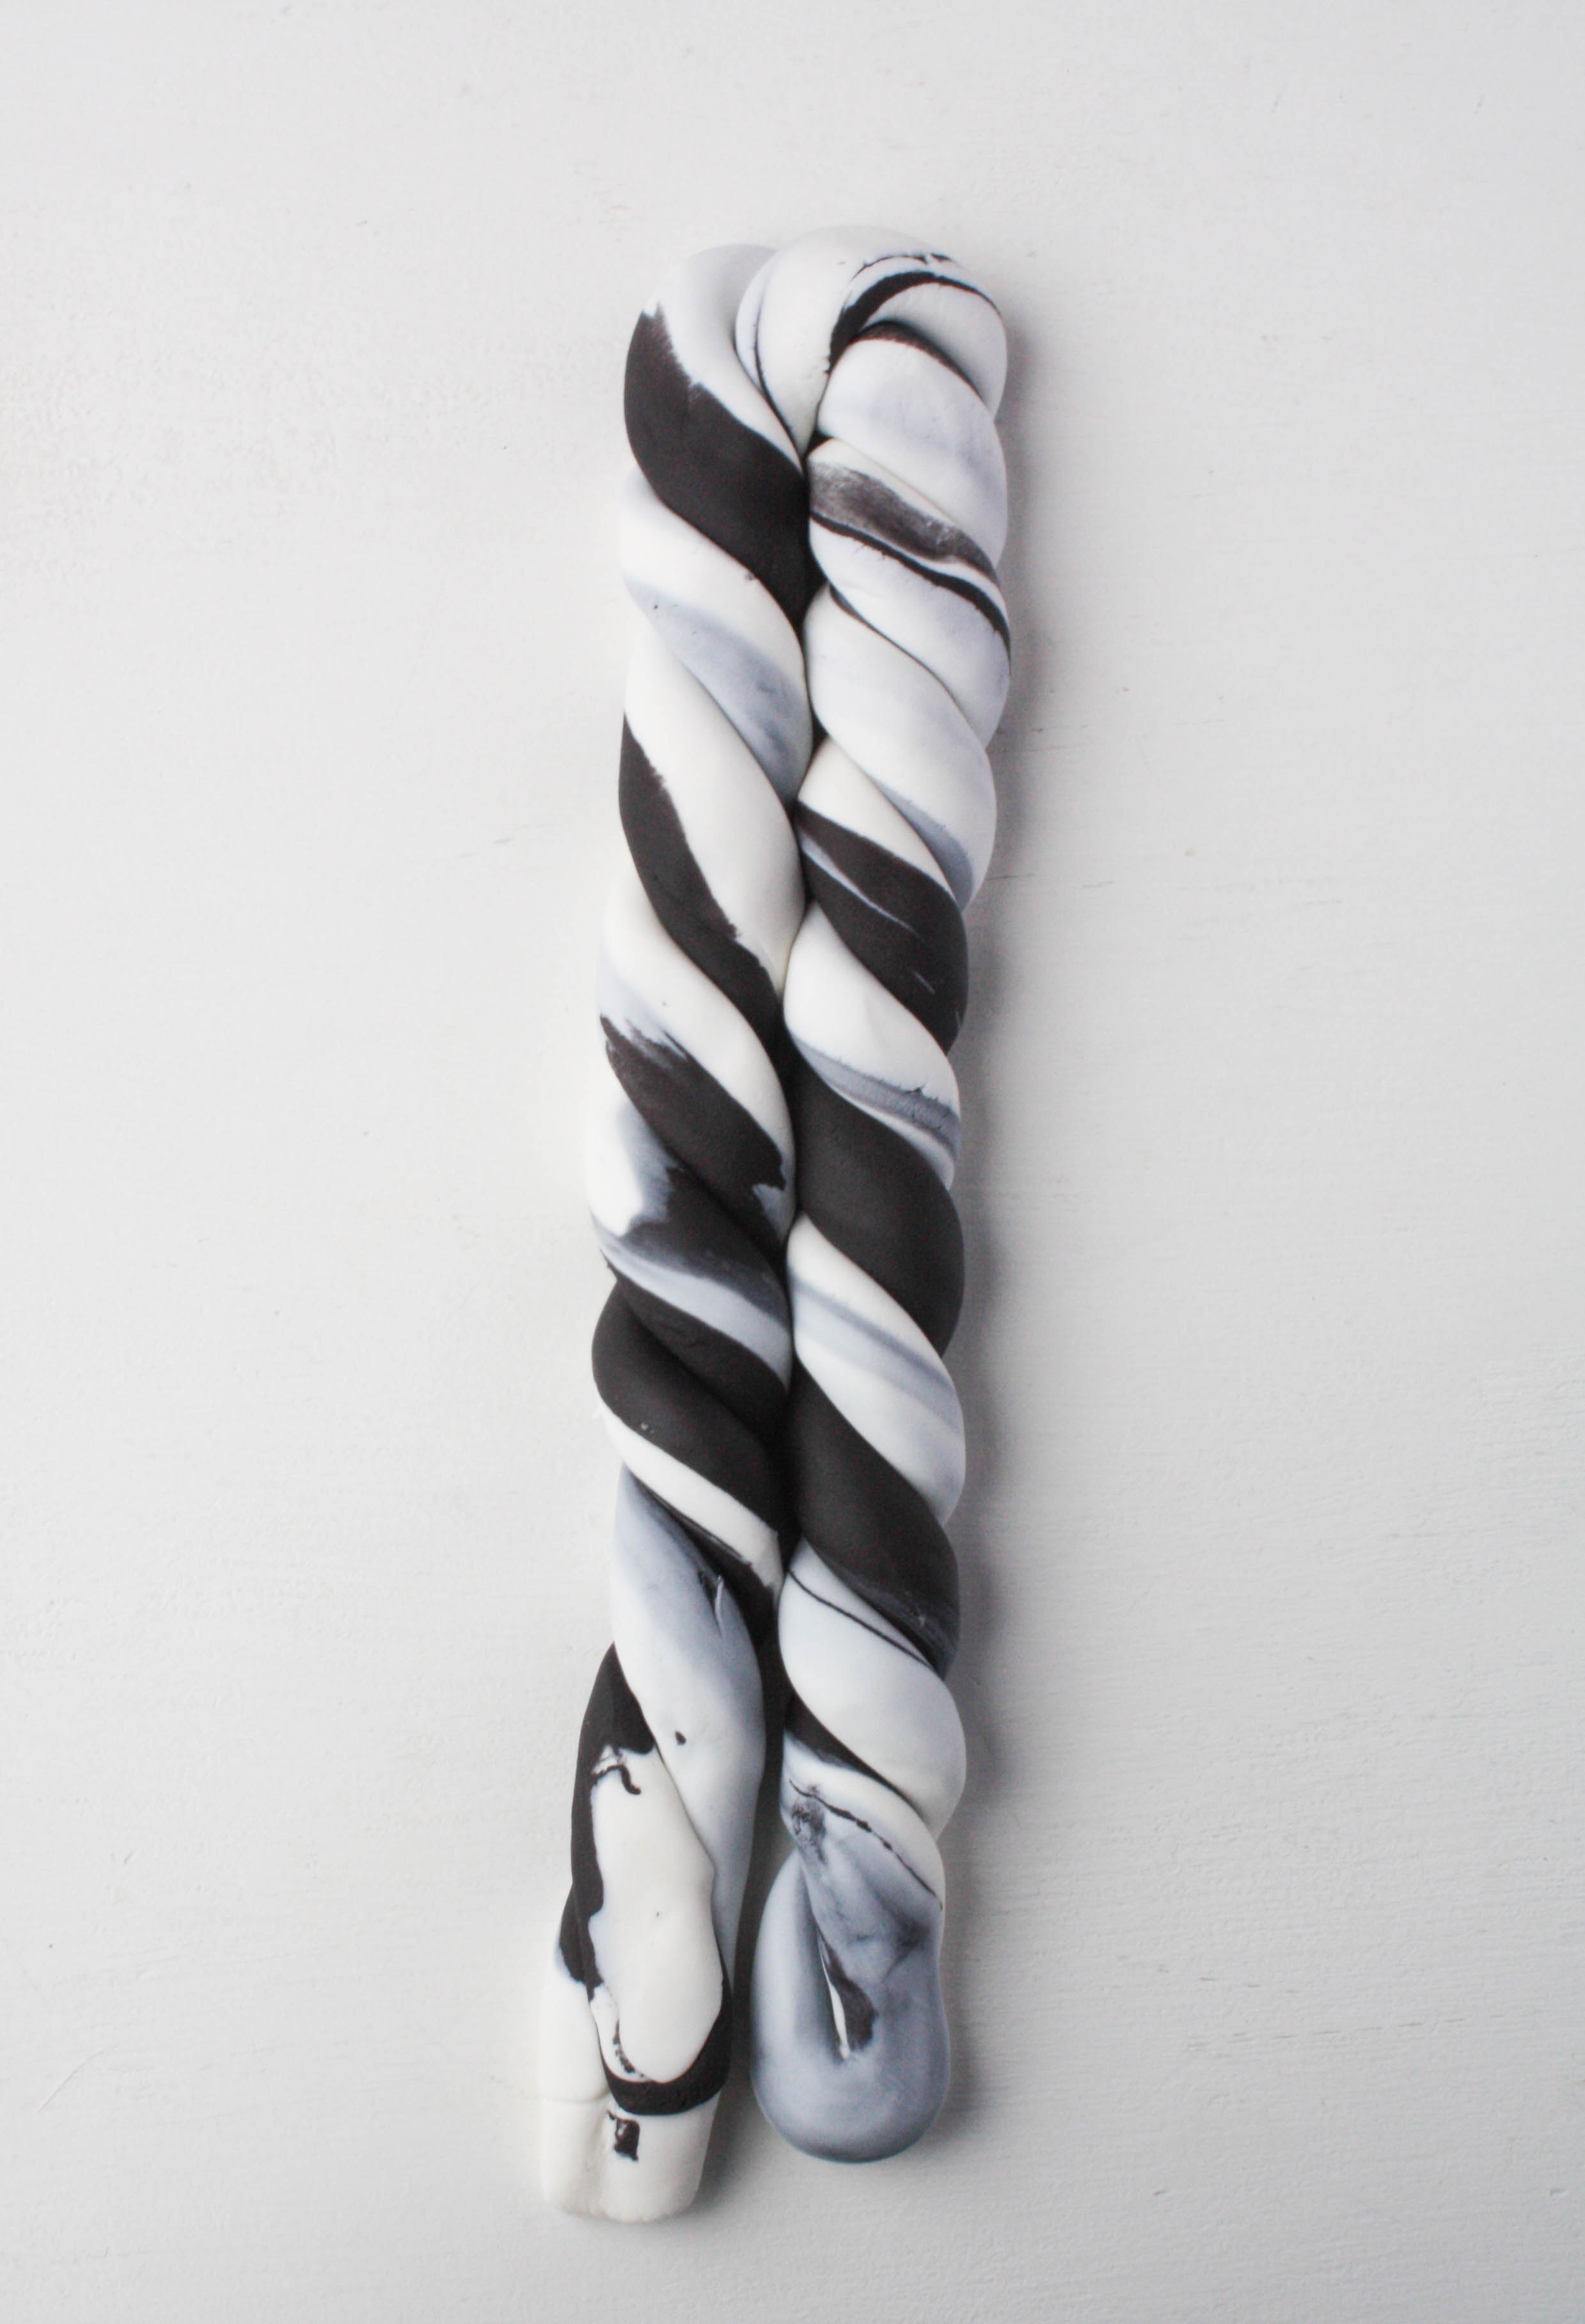
Step 4:
Roll the twisted ropes, so that they come together even more. Fold the twisted rope in half.
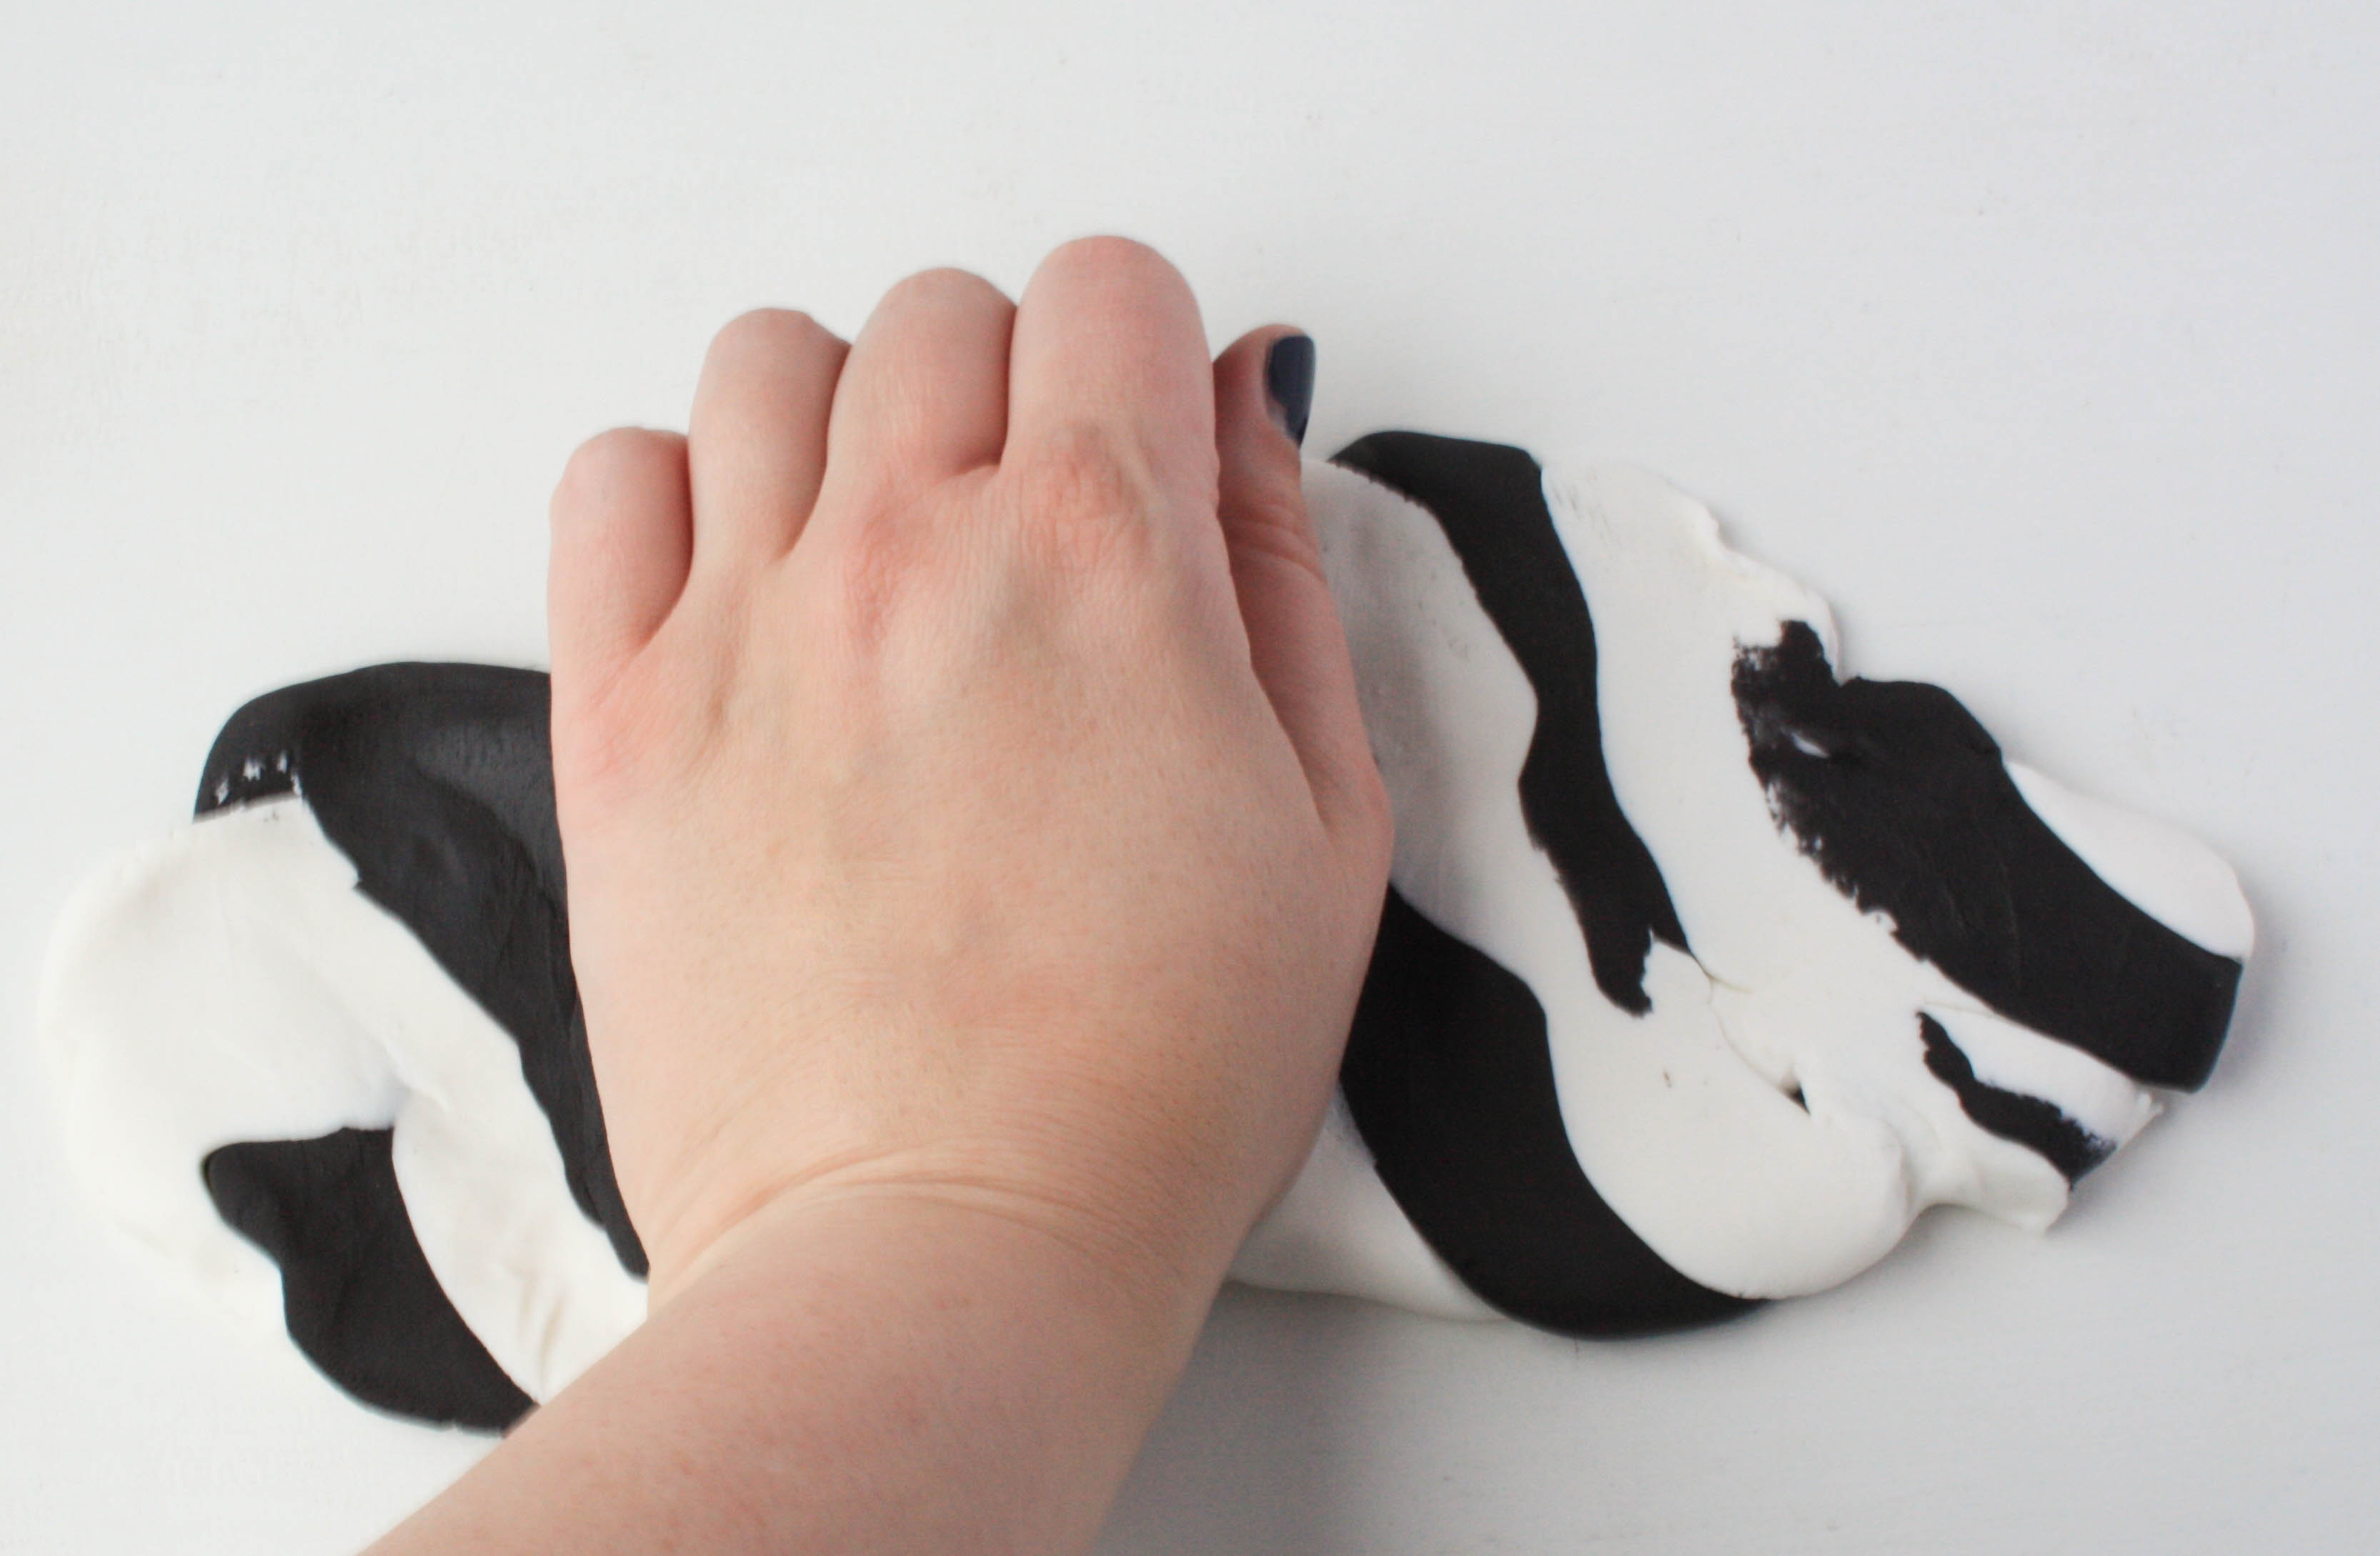
Step 5:
Use the palm of your hand to smear the twisted rope flat.
Step 6:
You could definitely stop here if you wanted a chunkier kind of marble. At this point you’d just roll your fondant out into a circle and use it to cover your crumb coated cake. But we’re taking our marble even further! Roll the smeared fondant into another rope.
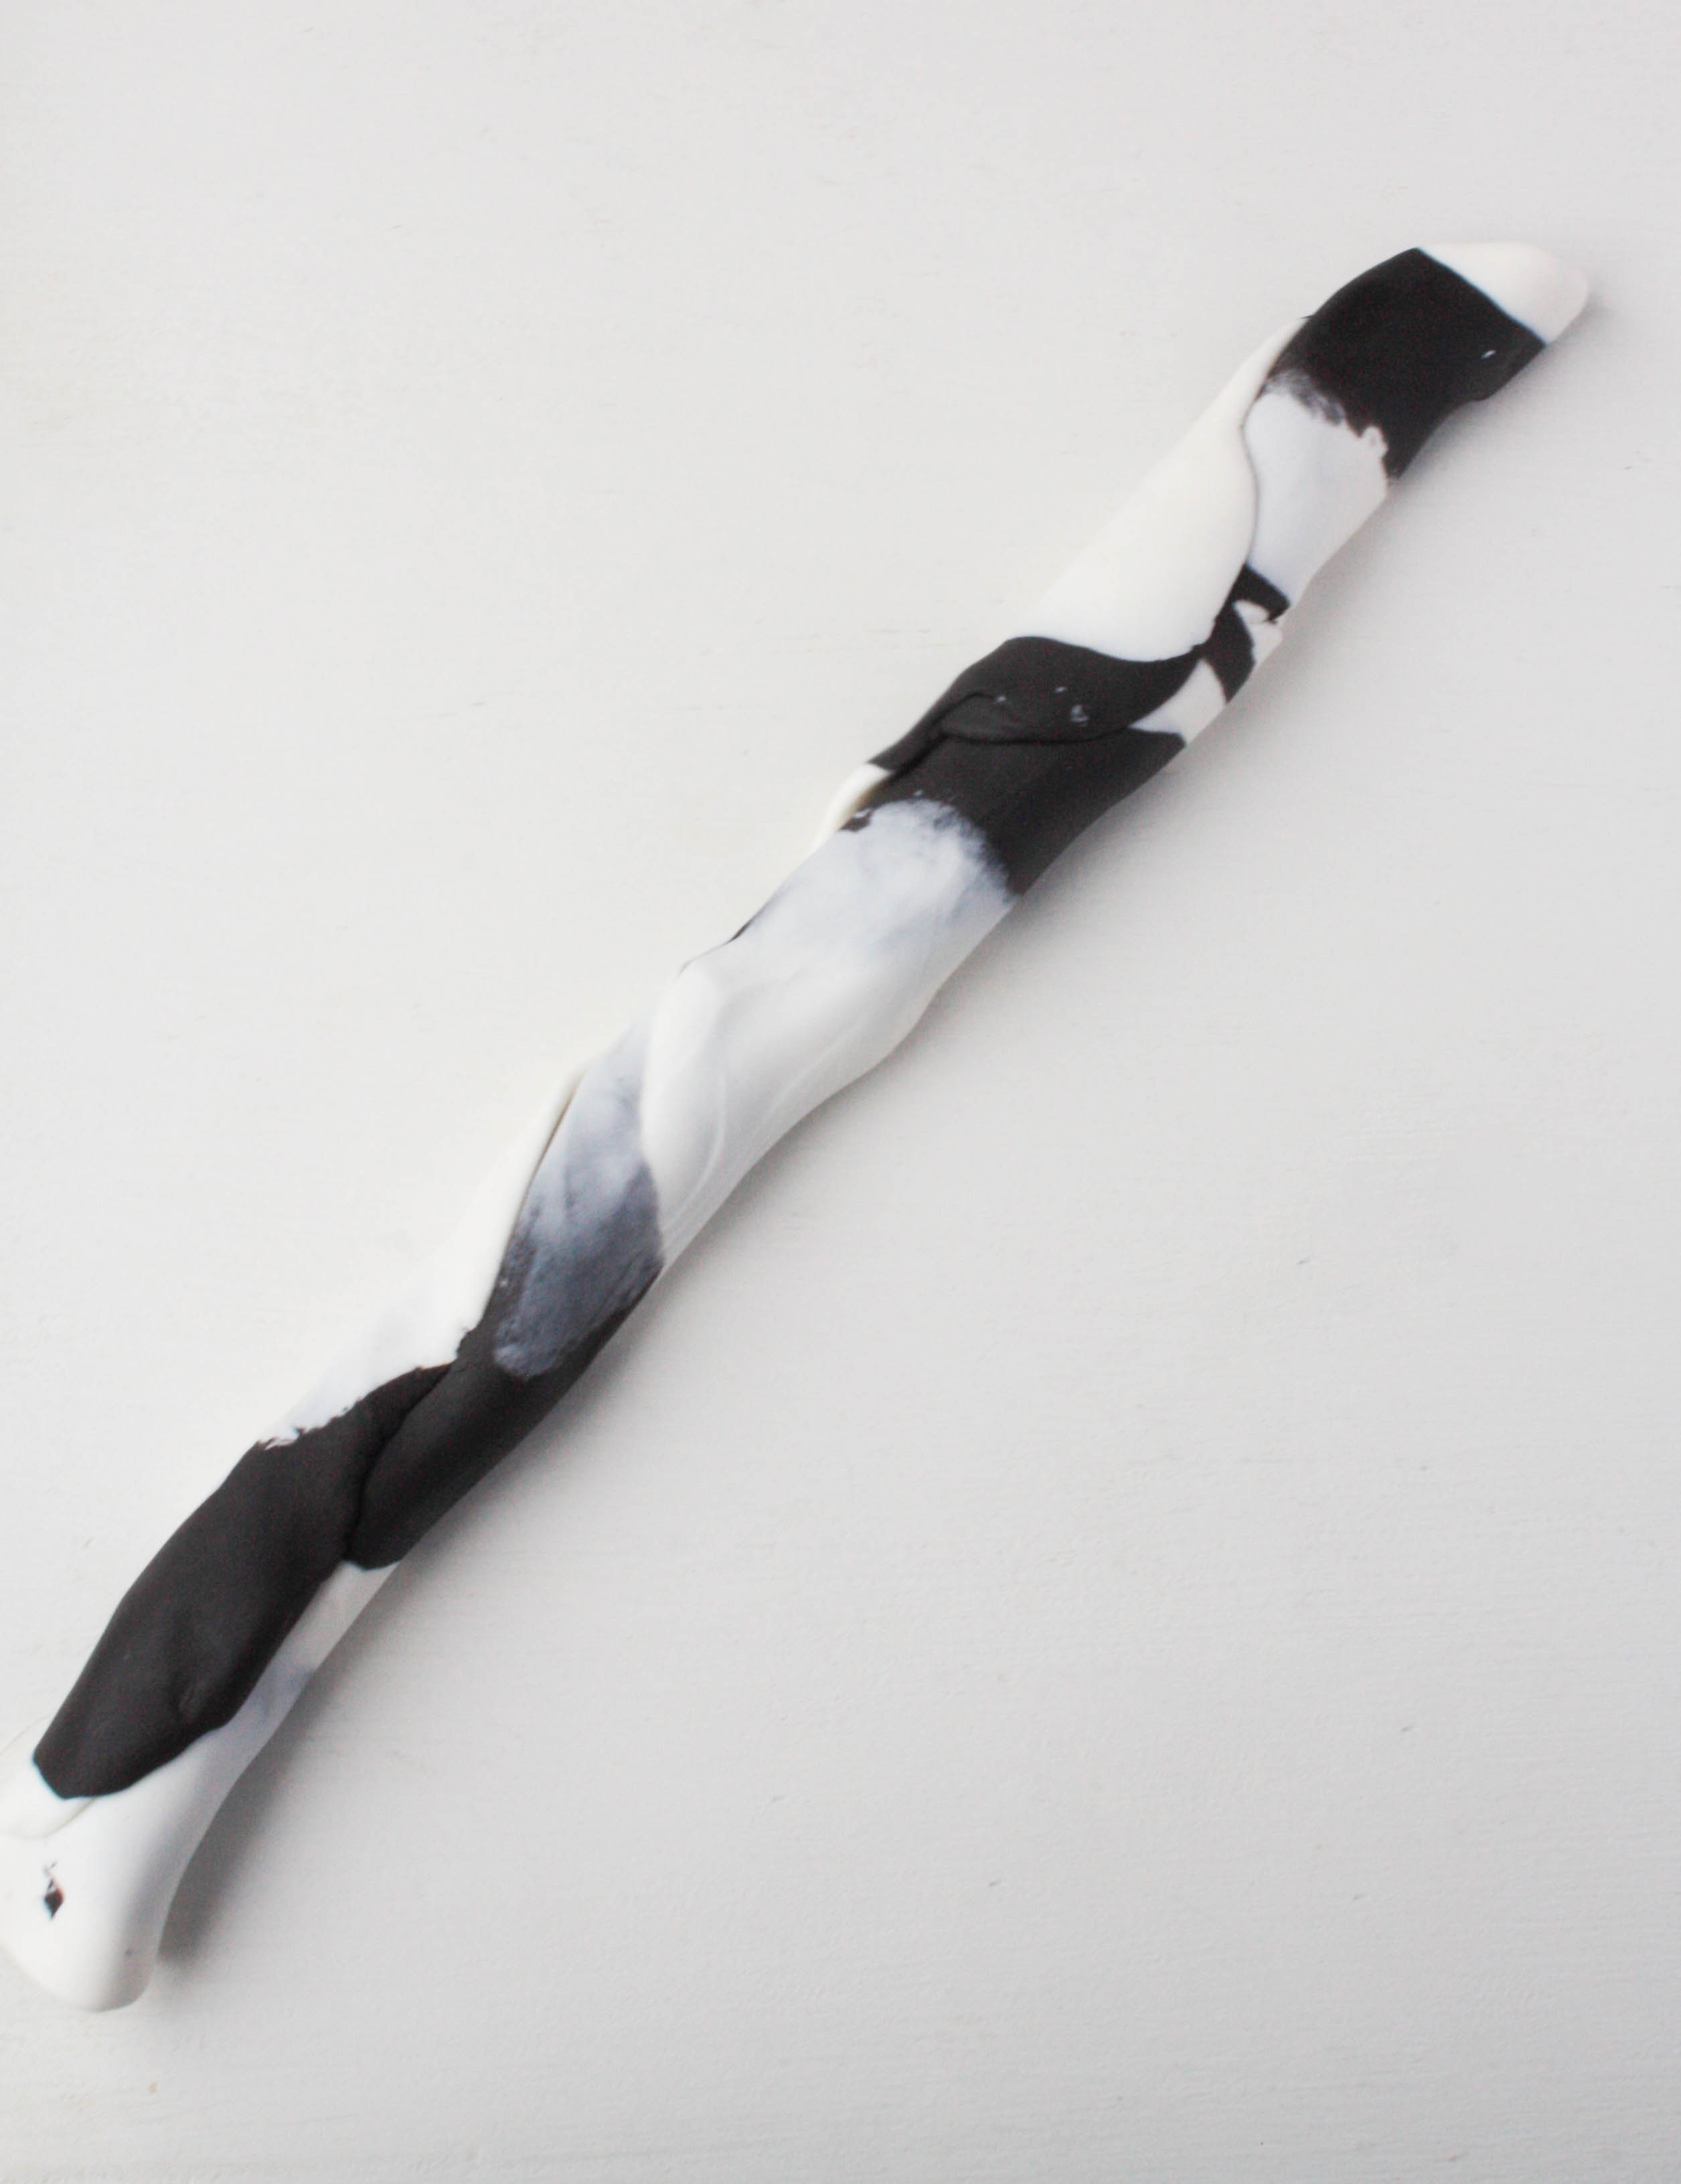
Step 7:
Roll, twist, and fold the smeared fondant rope, exactly as you did earlier.
See the magic starting to happen?
Step 8:
Now you’re ready to roll! Squish the fondant down a little with the palm of your hand to get it started and then roll your marbled fondant to whatever size you need.
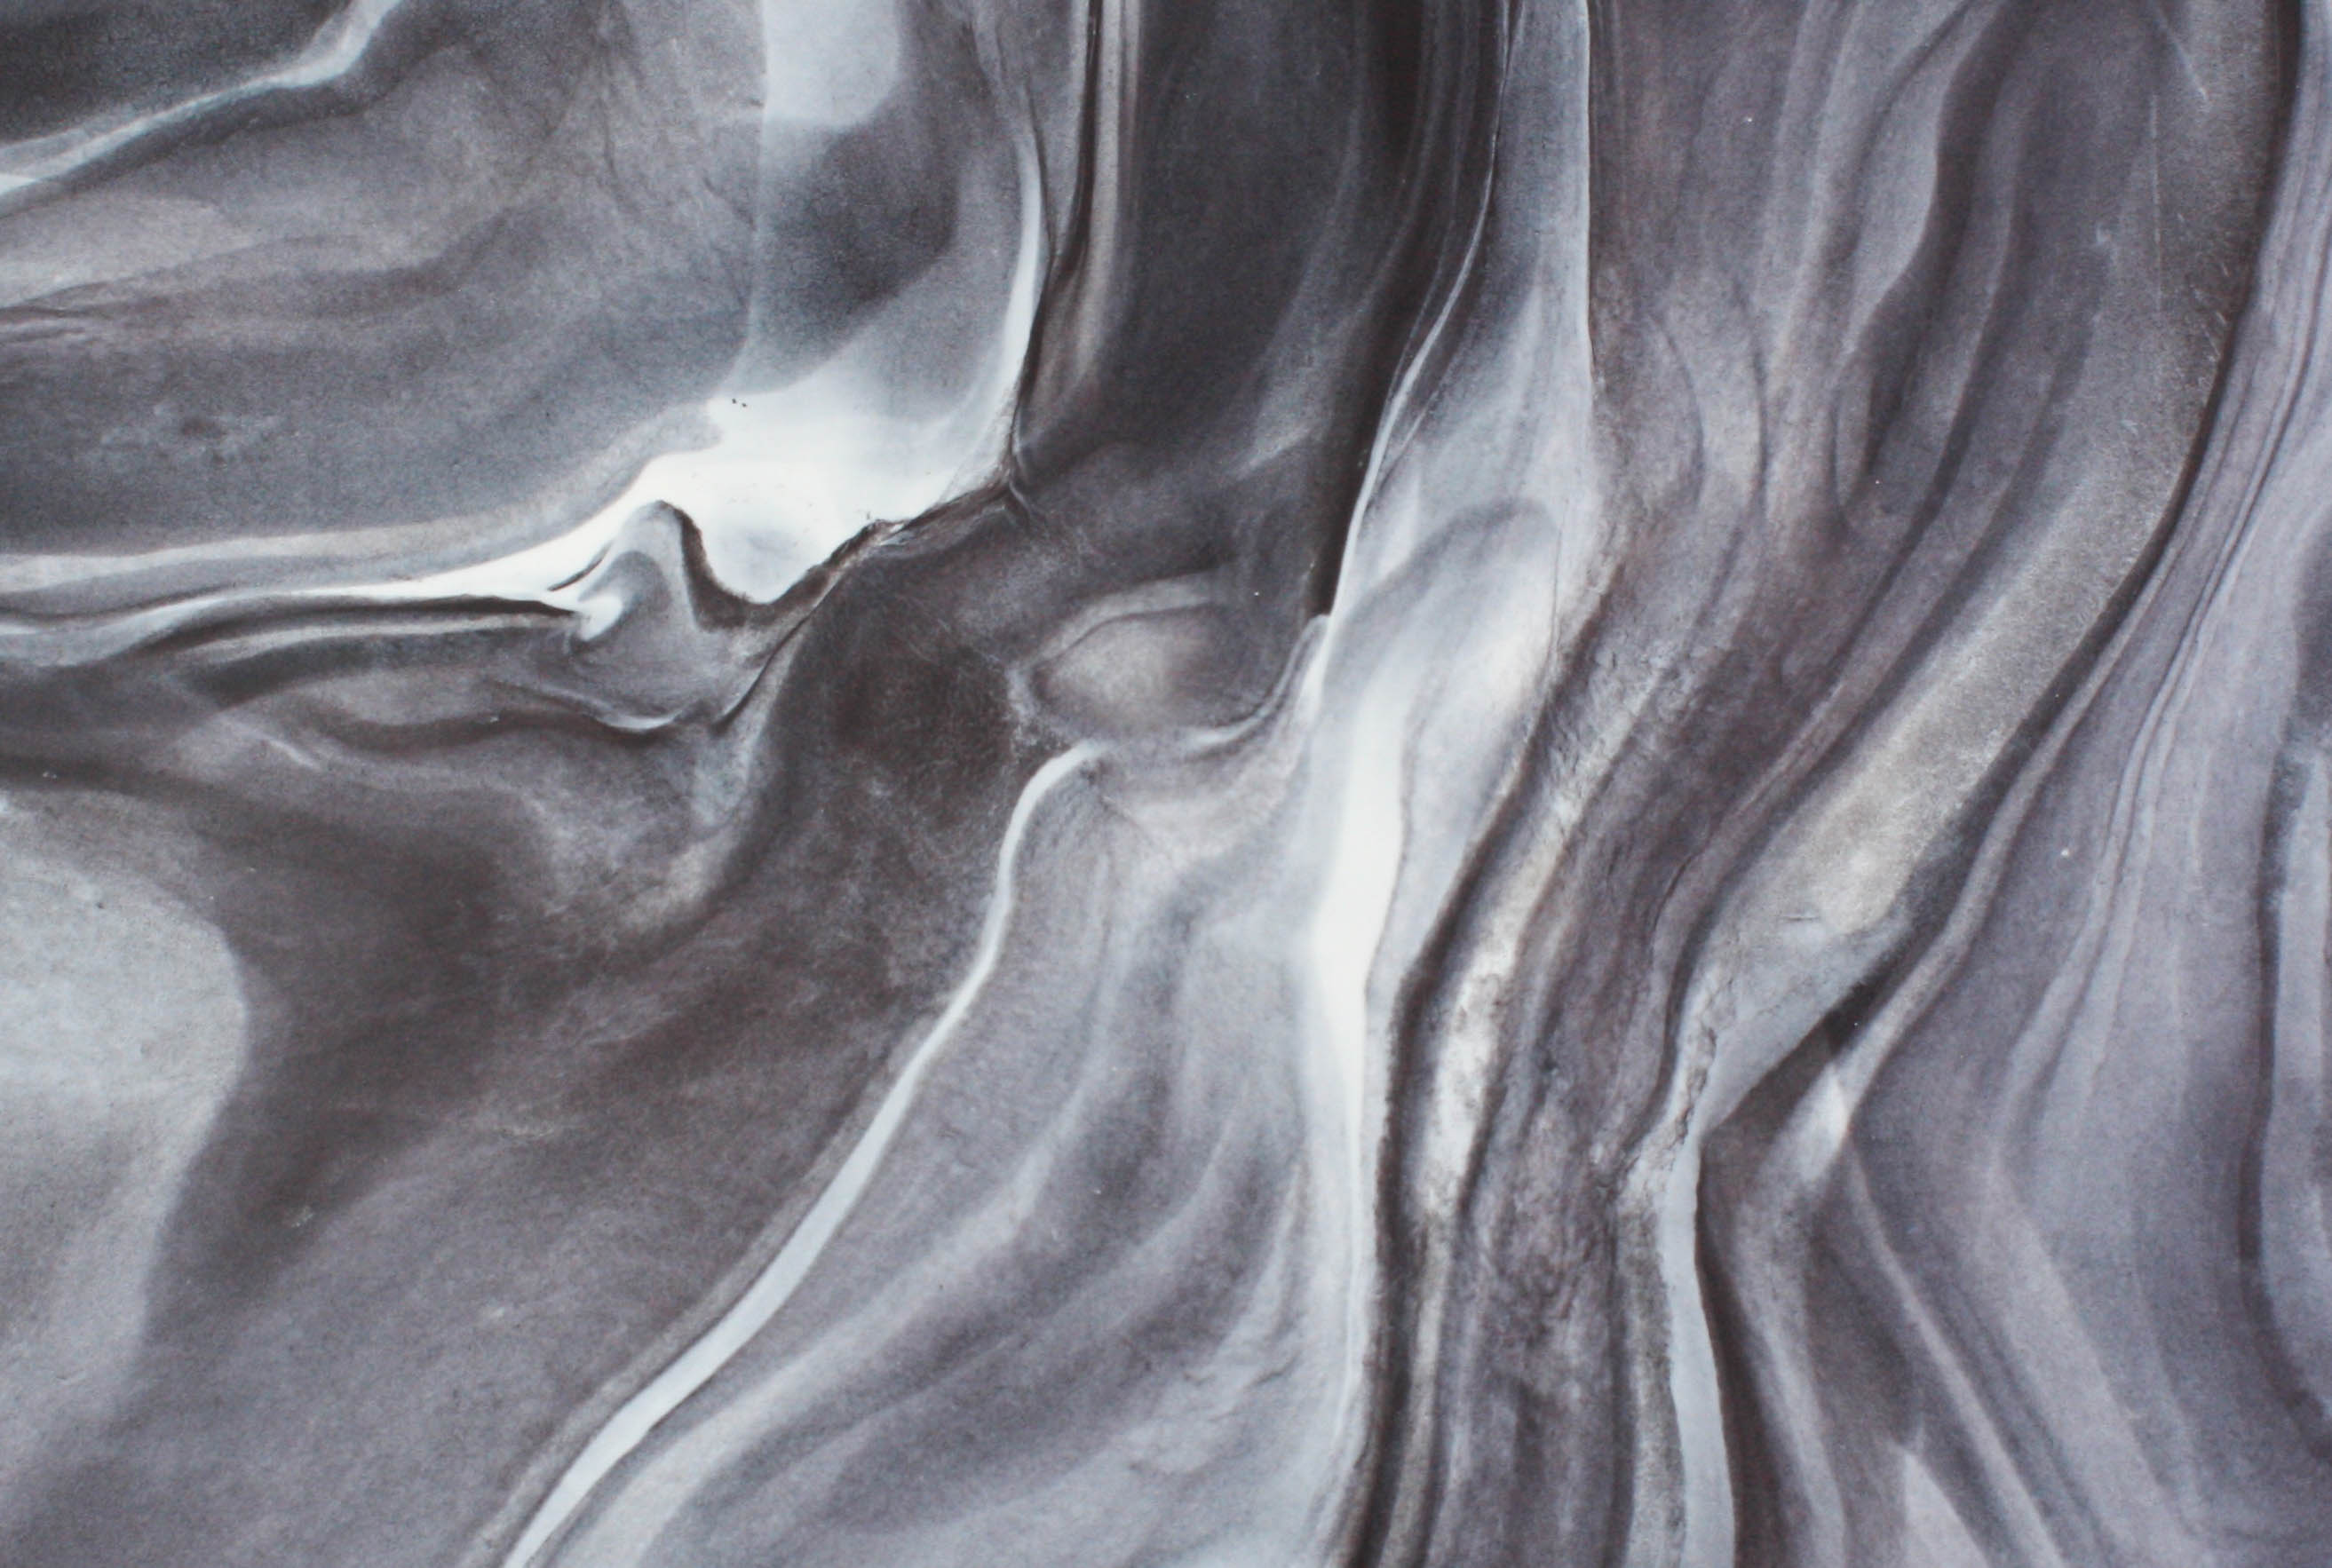
Step 9:
Use the rolled marbled fondant to cover your cake just as you would with a regular piece of rolled fondant.
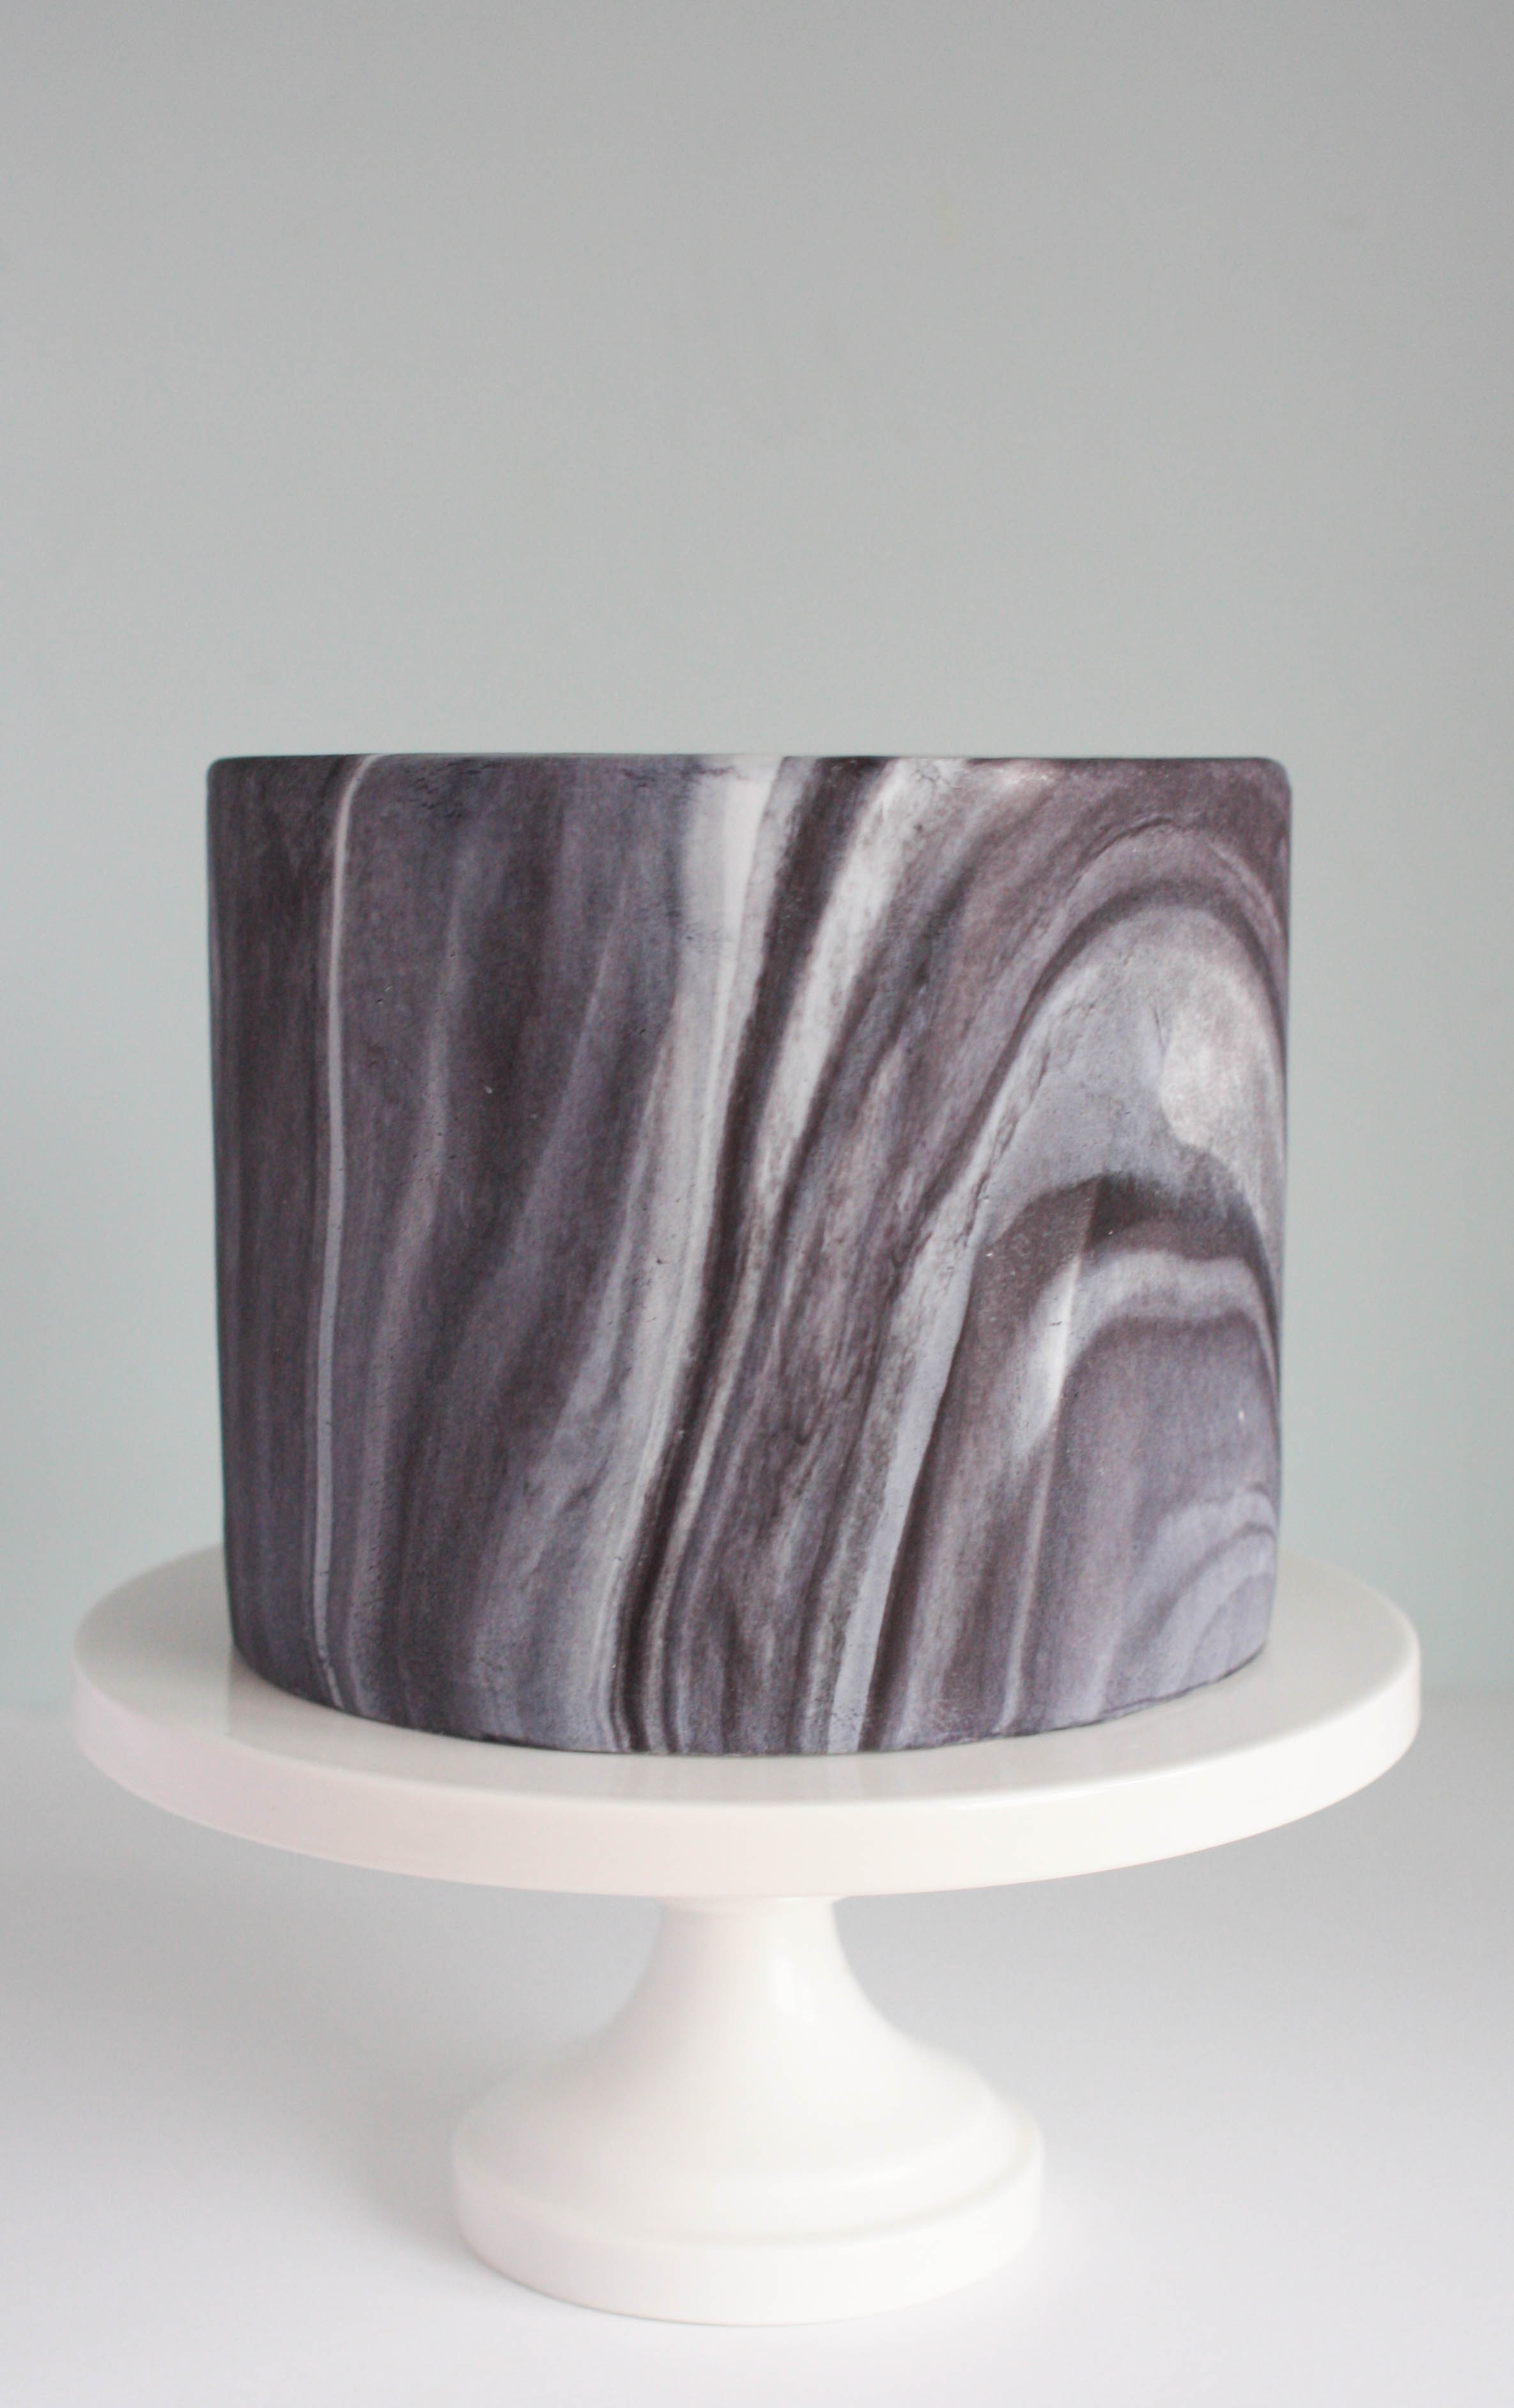
To cover my cake, I rolled the marbled fondant into a circle that was 1/8-inch thick and large enough in diameter to cover the top and sides of my 6-inch round cake. I then draped the rolled fondant over the top of the crumb coated cake and smoothed it down over the top and sides. Last, I trimmed away the excess fondant that pooled around the bottom of the cake.
Master Advanced Fondant Techniques!
Revealed! Celebrity cake decorator Marina Sousa’s secrets for creating jaw-dropping cakes with advanced fondant techniques from embossing to appliqué.
Share tips, start a discussion or ask one of our experts or other students a question.
Already a member? Sign in
No Responses to “Roll, Twist, Bend, Squish: How to Marble Fondant With Ease”